The Rapid Elearning Blog

Archive for April, 2018


effective e-learning tips

Here’s part two of a recent presentation I did on letting learners drive. It presented foundational ideas on how to build engaging e-learning courses and then focused on tips that help make the courses more learner-centric.

In part one, we looked at how to create engaging training. And in this part, we’ll look at how to make it effective.

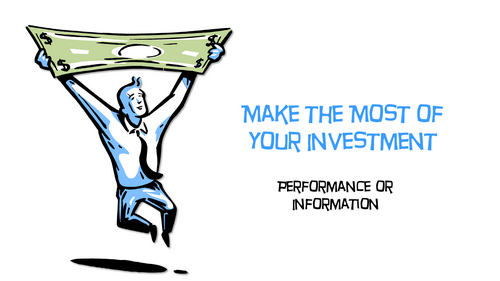
Generally speaking, most training is info-centric where content plays the main role. Obviously, content is important. But when it comes to building a course, content in a meaningful context is what matters.

Here are some tips on how to create courses that focus on the learner’s context.

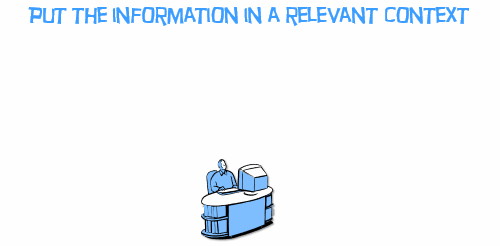
Effective Courses Creating Relevant Context

effective courses are relevant

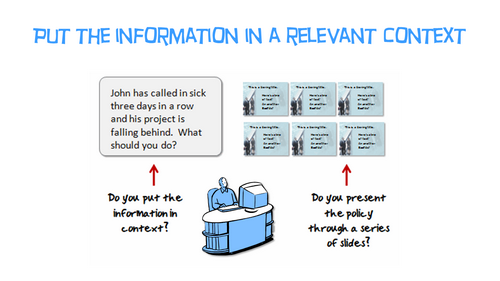
As we mentioned in the previous post, content needs context and that context needs to be relevant to the end user. How is the content used in what they do in real life situations?

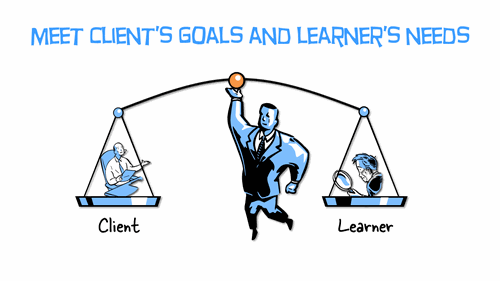
Effective Courses Address Diverse Learner Needs

effective courses

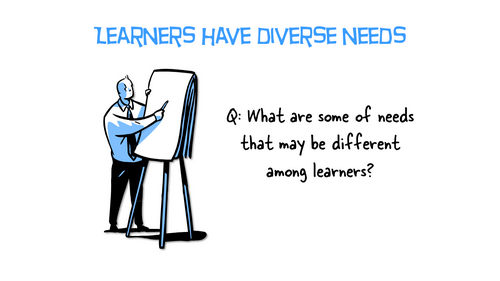
Some people come to the courses as experts and some as novices. Thus, courses can’t all be one size fits all. Do a user analysis to understand the learners and their needs. Then build mechanisms in the course that give them the freedom to learn where it works best for them.

Effective Courses Give the Learners Control

effective courses let users choose

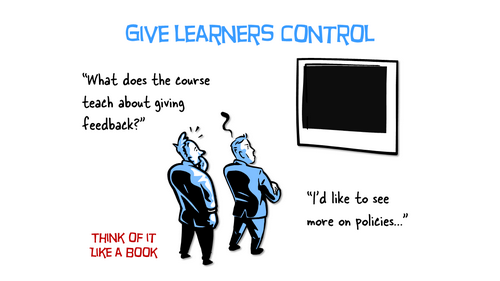
Think of your course live a textbook. Many are designed to flow in a linear path, but most people jump around topics for reference. They don’t always read everything. They usually just read to learn what they need.

That’s how it works online, as well. Want to learn something? Do a  search on YouTube.

effective courses free navigational control

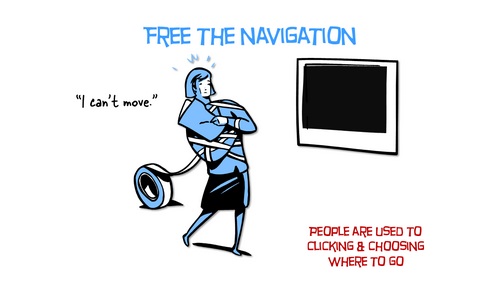
My guess is you jump right into the heart of the matter and skip over a lot of nice-to-know content that wasn’t critical to your search objective.

Why not design the learning experience more like that? Why does it have to be linear?

Effective Courses Expose the Need for Learning

effective courses expose the need to learn

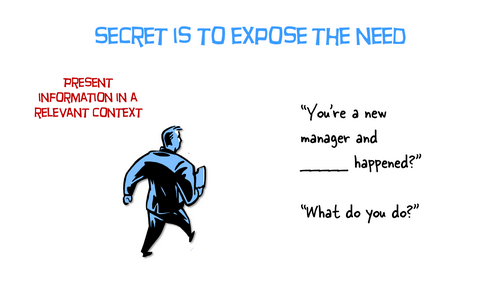
We tend to push content out, but we want the learner to pull it in. But we need to give them a reason to pull. One way is to expose the need to acquire content. We could challenge what they know—challenge their understanding.

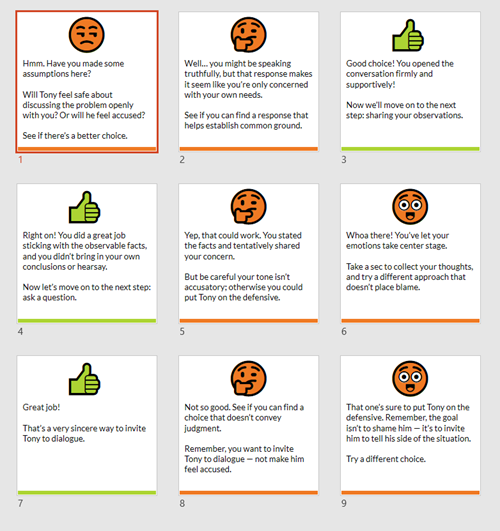
This could happen with a simple assessment upfront. Not designed to pass or fail them, but instead, it’s designed to expose their need to know more. Or the assessment can be more complex like an interactive scenario.

Effective Courses Let the Learners Explore

effective courses let learners explore content

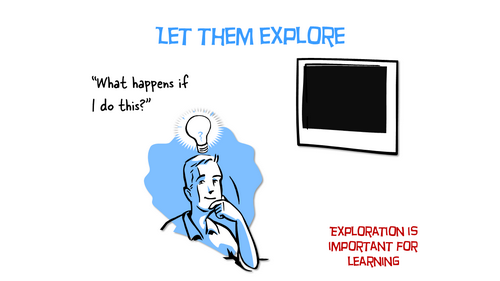
The learning experience is more than just presenting information. Information needs to be used in context. A great way to do this is to allow the learner to explore and discover content. Of course, they need to have a reason to explore.

Effective Courses Provide Contextual Scenarios

effective courses decision-making scenarios

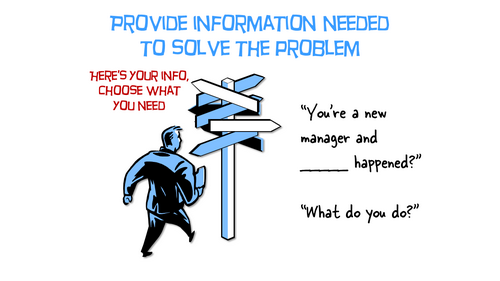
One way to get learners to pull in contact is to have them make decisions. Create decision-making scenarios where they have to solve a problem or take some sort of action. Then use that as a way to present content they can explore, collect, and consume to make the best decision.

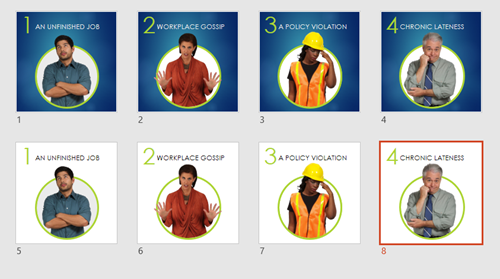
Effective Courses Sort Learners by Experience

effective courses sort learners

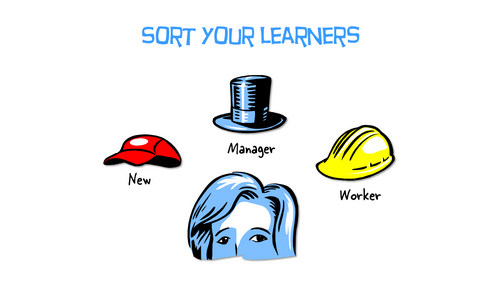
One way to provide better learning experiences is to sort learners. This can be by role, tenure, or competency. The sorting process can be simple or complex, adaptive learning paths. In either case, it helps you build a better course and it creates a better experience for the one who has to go through it.

Effective Courses Sort by Understanding

effective courses sort by understanding and competency

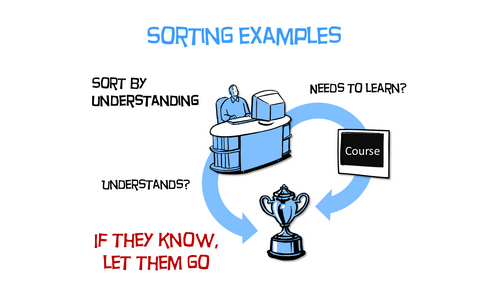
An easy way to sort learners is by how much they understand. This is an effective way to design annual compliance training. At the front end, challenge their level of understanding. If they demonstrate competency, then move them past content (or to the end). If they can’t demonstrate competency, move them through the content.

Effective Courses Sort by Experience or Role

effective courses sort by experience

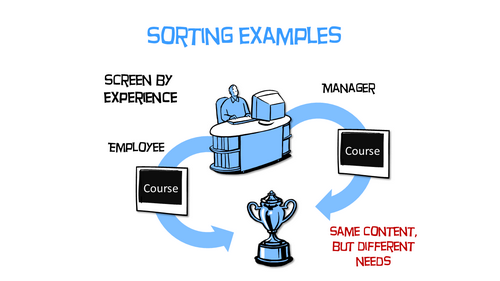
Another common way to build the learning path is by role or experience. Create a mechanism at the front end to sort learners and then create a path that adapts to how they were sorted. If there are places where this is common content, put that up front and then branch them once they get past it.

There’s a lot that goes into building effective courses. It all starts will clear objectives that can be measured. From there, create meaningful and contextual decision-making opportunities. Ultimately, a course is designed for learning, so giving the learner as much control as possible in the process will only make it that much more effective.

Events

Free E-Learning Resources

Want to learn more? Check out these articles and free resources in the community.

Here’s a great job board for e-learning, instructional design, and training jobs

Participate in the weekly e-learning challenges to sharpen your skills

Get your free PowerPoint templates and free graphics & stock images.

Lots of cool e-learning examples to check out and find inspiration.

Getting Started? This e-learning 101 series and the free e-books will help.


engaging e-learning checklist

Here’s a presentation from a previous workshop on how to create interactive e-learning. For this workshop, I focused on how to create an engaging e-learning experience for the end-user.

Here are a few core points from the presentation on how to create engaging e-learning courses. In part 2, we’ll look at how to create effective e-learning courses.

Engaging E-Learning Starts with Not Building a Course

engaging e-learning future learners are bored

That’s probably not the right heading but it is the right position to take when it comes to building e-learning courses.

Often the client defaults to training as a solution. But there are more things at play than just training. Good performance consulting helps root that out.

  • What are your goals?
  • Why aren’t they being met currently?
  • Is training the right solution?

Sometimes, people don’t have the right tools, systems, or management to meet objectives. Building an e-learning course may help them learn something, but that something they learn may not help meet the real objectives.

Engaging E-Learning Starts with the Right Content

engaging e-learning ROI

Not all courses are created equal. Some focus on performance where there are clear, measurable objectives. And some are more about information or awareness. Understanding the type of course required helps you allocate your resources.

Sometimes a simple, linear course is perfect for an awareness campaign. Or perhaps, it’s just a matter of presenting a relevant case study. And other times, a course requires interactive decision-making.

You have limited resources so spend them wisely. Don’t waste them on a course that doesn’t require it.

Engaging E-Learning Meets the Needs of Many

As a course designer, you’re a bridge between the organization or client that wants a course and the learner who has to take it.

For the client, you need to be cost-effective and build courses that meet some measurable objective. And for the learner, you need to build a course that engages them, doesn’t waste time, and helps them learn.

Ideally, the client and learner have the same objectives, but this isn’t always the case, especially with many of those compliance courses that are often pointless for the person who has to take it, but a necessity for the organization trying to set standards and communicate policies.

Engaging E-Learning Mimics the Real World

engaging e-learning relevant context

Do you want people to learn? Put the information in a context that mirrors the real world. Don’t tell them about policies. Instead, build activities where they develop competencies by using the policies to make the right decisions.

  • Find out how they’ll use the information in the course.
  • Give them ways to practice the same things they need to do to be successful on the job.
  • Provide feedback to help them learn and make the adjustments they need to make.

The key to creating effective and engaging e-learning is to build meaningful courses. They need to be meaningful for the client, thus they need to be cost-effective and meet objectives. And they need to be meaningful for the end learner by actually teaching something relevant and worth learning.

In part 2, we’ll look at how to create effective e-learning courses.

Events

Free E-Learning Resources

Want to learn more? Check out these articles and free resources in the community.

Here’s a great job board for e-learning, instructional design, and training jobs

Participate in the weekly e-learning challenges to sharpen your skills

Get your free PowerPoint templates and free graphics & stock images.

Lots of cool e-learning examples to check out and find inspiration.

Getting Started? This e-learning 101 series and the free e-books will help.


PowerPoint graphics

In a recent post, I showed how I use PowerPoint to build the graphics for my Rise courses. I had a few questions on how to create the person sticking out of the circle image (apparently that is popular).  So today’s post shows how to do this. It’s pretty easy.

How to Create a 3D Pop-Out Graphic in PowerPoint

PowerPoint graphics Content Library

  • Insert a character and crop it until it is square.
  • Insert a circle.
  • The circle and image should be a similar size.
  • Crop the image to a circle shape.
  • Position the character over the circle.
  • Scale it up to suit your need for the overhanging image.
  • Duplicate the character.
  • Crop the first image to fit in the circle.
  • Crop the second image and place on top of the first image to cover.
  • Group together so you don’t accidentally nudge them out of place.

PowerPoint graphic steps

As you can see, it’s relatively simple to do. Then whatever you build in PowerPoint can be saved as an image. Either right-click it and save as .PNG or save the slide itself as .PNG.

Watch the tutorial below to get more of the specific detail. And here’s a bonus tutorial on how I created the 3D pop-out header image above.

Click here to view the YouTube tutorial.

Events

Free E-Learning Resources

Want to learn more? Check out these articles and free resources in the community.

Here’s a great job board for e-learning, instructional design, and training jobs

Participate in the weekly e-learning challenges to sharpen your skills

Get your free PowerPoint templates and free graphics & stock images.

Lots of cool e-learning examples to check out and find inspiration.

Getting Started? This e-learning 101 series and the free e-books will help.


PowerPoint graphics

In a previous post, I shared how I built an interactive scenario in Rise. I’ve gotten lots of emails asking how I built the graphics like the headers and the flashcard interactions for the interactive scenario. So in today’s post, I’m going to show you a simple way to build graphics for your Rise e-learning courses.

PowerPoint graphics headers for Rise blocks

PowerPoint graphics flashcard interaction

Understanding the Image Blocks in Rise

Rise offers a number of blocks that support inserted images (such as image, gallery, and some of the interactions). Most them work perfectly in one of two aspect ratios:

  • 1:1 (square)
  • 16:9 (rectangle)

There are a few blocks that have text overlay where the image is scaled. Those are mostly decorative images so we won’t worry about them.

Understanding PowerPoint Slides

PowerPoint is easy-to-use screen and with some practice, you can build almost any type of visual. Because of this, I build my simple graphics in PowerPoint and save the slides as images.

In PowerPoint, we need to do two things: set slide size and then whatever we build we export as an image.

  • Go to Design>Slide Size and modify the slide size.
  • To save the slide as an image, go to Save As and choose an image format. You can save a single slide or all slides. I usually save in PNG format.

Create PowerPoint Graphics to Use in Rise

Since there are two aspect ratios, I create two PowerPoint files for my Rise graphics. One is 1:1 and the other is 16:9. You can see the PowerPoint files I created for the scenario demo.

PowerPoint graphics example of file

PowerPoint is a freeform slide. I can build virtually anything I need quickly. In the interactive scenario, I created 1:1 images for the flashcards. One side of the flashcard has the question text and the other has the feedback.

I used the various image editing features in PowerPoint to colorize the graphics. I also used the emjoi features to create some simple feedback graphics. While it’s easy enough to build these graphics with other tools I just find PowerPoint to be easy and fast. However you’re not confined to PowerPoint, you can use the tool of your choice.

PowerPoint graphics flashcard questions

PowerPoint graphics flashcard answers

The images above are relatively simple. The images below required a bit more work. I had to build it so the character extends out of the frame. You can see that I created a couple of versions. I opted for the lighter version because it made the Rise screen seem more open with more white space.

PowerPoint graphics header image

When you’re all done building your slides, save the slides as images rather than a .pptx file. Then you’ll have a folder of images that work with your Rise courses.

Bonus PowerPoint Graphics Tip

With Articulate 360, you get Studio 360 that includes Presenter and works with PowerPoint. That means you have access to all of the Content Library characters and templates. So if you want the same Content Library characters in Rise, use PowerPoint slides to build the graphics like I did above.

Here’s another example I mocked up for the blog post using the same techniques.

PowerPoint graphics interactive scenario 2

So there you have it. In the first, post we looked at how to build the interactive scenario in Rise. And in this one, we reviewed how to use PowerPoint to quickly build the graphics you need.

Events

Free E-Learning Resources

Want to learn more? Check out these articles and free resources in the community.

Here’s a great job board for e-learning, instructional design, and training jobs

Participate in the weekly e-learning challenges to sharpen your skills

Get your free PowerPoint templates and free graphics & stock images.

Lots of cool e-learning examples to check out and find inspiration.

Getting Started? This e-learning 101 series and the free e-books will help.