Budgets are tight and stock photos cost money. Because of this you end up using the same stock photos over and over again. The stock characters are treated like a team of improv performers. One day they’re all compliant managers and the next day they’re those dreaded sexual harassers from the cubicle down the hall.
One possible solution is to shoot your own photos, which I covered in a previous blog post on creating your own stock images. However, you can run into issues with the image quality and who can and cannot be in the photos. Stock photos also raise the issue of representing diversity. It sure would be great if everyone looked the same. 🙂
There is an easy way around these issues. And that is to use silhouette characters. Plus, the silhouette look is kind of hot right now and it’s a good way to make your courses look a little different.
In today’s post, I’m going to show you some easy ways to create and use these characters in your elearning courses.
Microsoft Office Clip Art
There are already quite a few silhouette characters available in the Microsoft Office clip art. Do a search for: “style 1568” or “silhouettes” to get started.
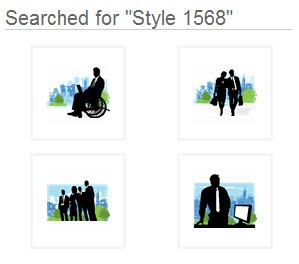
Some of them will be vector images that you can ungroup and manipulate. You can learn more about that in this post on working with grouped clip art. And some of the images are going to be bitmapped images where you can’t edit as easily. In either case, there are quite a few to choose from.
There are also a lot of ideas on how to use the silhouette images. So even if you don’t use the ones that are provided with the Microsoft package, you can still get some inspiration from the designs that are available and how they’re used.
Create Your Own from Clip Art
I’ve already covered how to ungroup and manipulate clip art in a number of posts. If you can’t find the silhouette’s that you want, why not take a different clip art image and convert it to a silhouette image? It’s easy to do.
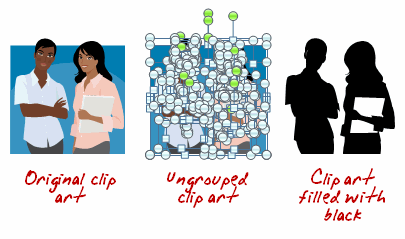
- Find your clip art.
- Ungroup it.
- Select the clip art character and fill with black (in the demo above, I left the notebook white).
- Regroup the character.
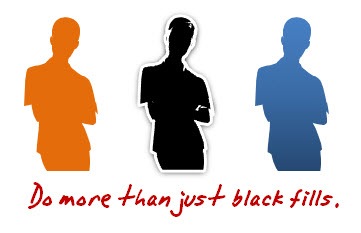
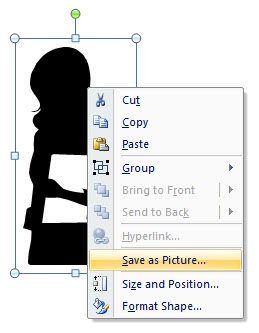
Tip: You’re not limited to black. And you can make use of some of the graphic effects in PowerPoint to add variety. You can also right click and save the silhouette as its own image rather than keep it a PowerPoint object.
Create You Own from Photos
You can pull characters from stock photos or your own pictures. All you do is separate the character from the background and then color the person with a solid color. This approach is effective because you can shoot your own photos and not worry about lighting and getting the best image. As long as it is clear and has the right pose, you’re fine. Once it’s filled no one can tell what the original looked like.
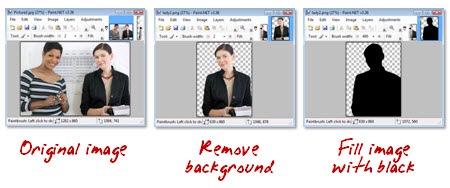
- Open the photo in a graphics editor.
- Pull the person out of the background.
- Fill the character with black and save the image.
Tip: If you want a transparent background with the image make sure to save as .gif or .png. You don’t need a fancy graphics application to do this. In fact, I did this demo in Paint.net which is a free download.
Download Some Free Ones
I’m always amazed at the free resources available online. Do a search for “free silhouettes” and you’ll come up with all sorts of resources.

Tip: Before you use the images for a commercial project, you want to verify the rights that you have for the images. Some are only available for personal use. Also, only download stuff from reputable sites.
There are a lot of interesting things you can do with silhouettes. The trend today seems to be mixing them with very vibrant colors. Using them is an easy solution to having enough images to use in your courses and creating something that is also visually compelling. To learn more, search how silhouettes are used in advertising and print media. The iPod ads are a good example. You might get a lot of cool ideas.
How would you use them in your courses? Share your ideas by clicking on the comments link.
Events
Free E-Learning Resources








0
comments