Leggi la traduzione (autorizzata) in italiano di questo post qui: http://www.mosaicoelearning.it/blog/?p=3340
Create an Interactive Course Using a Single Image
August 4th, 2015
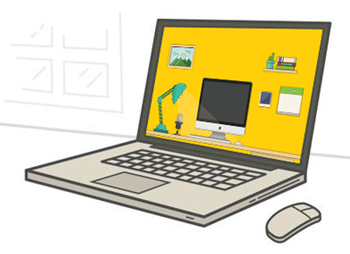
This post gives you a two-fer: that’s two freebies for one. I found a free desktop image made available by Anastasia Kolisnichenko. I used the free image to create an interactive course prototype for an upcoming workshop activity. The template is free for you to download and use as you wish.
Below is an example of the template in action. It’s embedded on the blog page. Click here to view the template if the embedded version isn’t visible in the email.
The example above was created in Storyline and uses the zoom region feature and triggers to pause the timeline. Here’s a PowerPoint (no zoom). I like the push transition.
How to Create an Interactive Course Using a Single Image
If you had access to a graphics designer, you could create anything you want. But for many of you, that’s not an option. This means you’re limited to searching the Internet for free downloads and then using those for your courses. The challenge with this is that it can be difficult to modify or customize the free downloads that you find.
However, here’s a simple technique that doesn’t require a lot of extra work. It just requires an image that has clear potential content buckets. Then you add links to those buckets and add your content. It’s a straightforward way to create an exploratory interactive course.
- Locate an image that has multiple components. The free desktop download is a good example. It has areas that can be made clickable with links to additional content. Another example could be a collage style image or a comic book layout image.

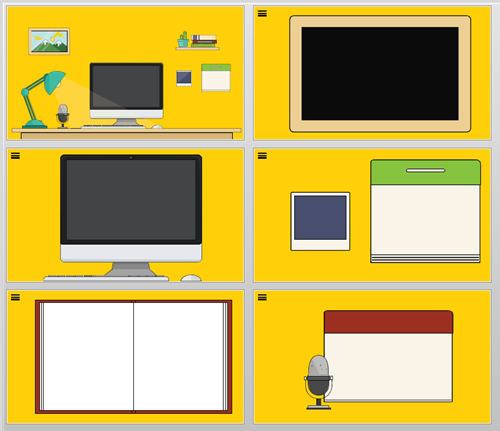
- Create a separate slide for each distinct area. In the example above I made slides for the computer, picture frame, bookshelf, microphone, and calendar. Those are all exciting potential content buckets.
- Link from the main image to a slide of the isolated element. Also add a link back.
- Apply a transition. In Storyline, the zoom feature is a wonderful way to transition in and out. In PowerPoint, it’s a bit more challenging to create a zoom that’s easy to edit. In that case, I used a push transition.
In this demo I used the free desktop image to create the interactive course design. However, this production technique works great with other images. The key is that you start with a single image, so you need to do minimal editing and customization.
Download the Free Templates to Create an Interactive Course
Here are the download links to the free template. I also included the original graphic in case the link breaks somewhere down the road. Be sure to give props to Anastasia Kolisnichenko who made it available to use.
- Storyline: contains the Storyline 1 and 2 versions of the file.
- PowerPoint
Enjoy!
Events
- Everyday. Check out the weekly training webinars to learn more about Rise, Storyline, and instructional design.
Free E-Learning Resources
 |
 |
 |
|
Want to learn more? Check out these articles and free resources in the community. |
Here’s a great job board for e-learning, instructional design, and training jobs |
Participate in the weekly e-learning challenges to sharpen your skills |
 |
 |
 |
|
Get your free PowerPoint templates and free graphics & stock images. |
Lots of cool e-learning examples to check out and find inspiration. |
Getting Started? This e-learning 101 series and the free e-books will help. |
4 responses to “Create an Interactive Course Using a Single Image”
Nice one Tom. It really shows how the right image can make all the difference when you know what you are looking for!
Fantastic post, Tom, you outdid yourself this time. This template is something that really captured my attention, it’s also something I will definetely be showing to a lot of friends of mine, both in reality and online. It really shows how designing eLearning courses can be an easy task as long as you have plenty of creativity, don’t you think?
Clean and effective. Like the inclusion of the ‘delighter’ in the form of the lamp too.


0
comments