Little Known Ways to Create Your Own Graphics Using PowerPoint
September 3rd, 2007
If you follow Sweller’s cognitive load theory, then you understand that the graphics in your elearning course are very important and play a large role in its effectiveness. However, not having the right graphics is a challenge.
If you’re like me, you’re on a limited budget and you just can’t go buy custom graphics whenever you like. That means you’re probably stuck using the standard clip art that comes with PowerPoint.
After just a few projects you cycle through all of the good clip art and you’re forced to use the clowns and puppies. While your five-year-old child might like your choice of images, you’ll find that many in your organization are not particularly fond of clowns or puppies. If only you had known that before you started.

How Do I Get the Graphics I Need?
If you want custom graphics, you can hire someone (although you might want to read this before working with a graphic designer) or you can make them yourself. For the moment, I am assuming that you have no money and you want to make the graphics yourself.
In this case, I recommend two options: 1) create your own drawings or 2) modify existing clip art.
[Note: Microsoft stopped providing clip art but you can still use the same ideas by ungrouping vector images in PowerPoint.]
Option 1: Stick with your skills and draw your own graphics
Here’s a generic image that is easy to create.
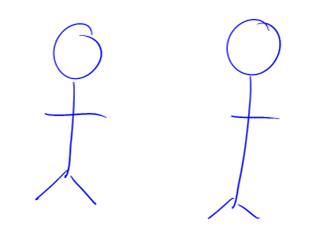
With minor tweaks, you can use the same image over and over again, each time telling a different story. As you can see below, it doesn’t take much to make the images mean different things.
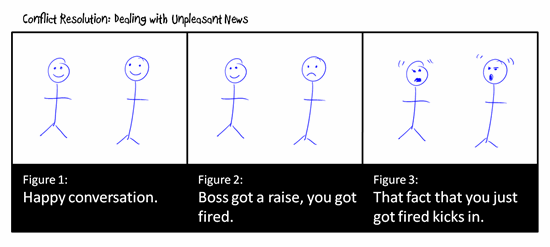
However, there is a very slight possibility that many in your organization will not appreciate your graphic art skills. In that case, I suggest trying the second option.
Option 2: Modify existing clip art
Here’s your challenge. You want an image of a lady presenting some information to her team. However, you cannot find the right image. In the following example, you’re going to learn to take two separate clip art images and combine them to make the image you need.
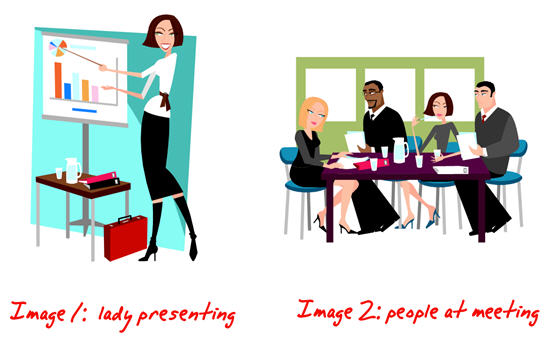
Become a clip art surgeon.
Without going into technical details, most clip art is a series of grouped images. That means you can ungroup the clip art and pull out or add the elements you need.
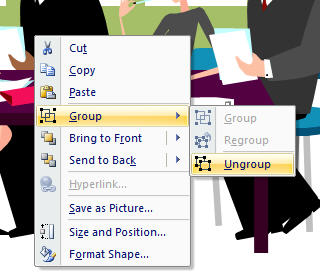
Just right-click on the image and select ungroup. Sometimes, you have to do it twice. You should see something like this.
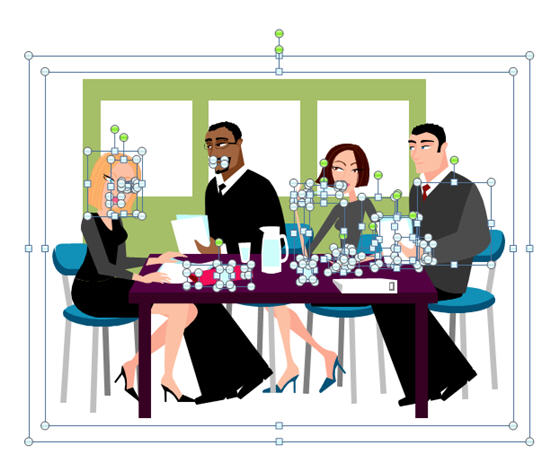
Once you ungroup, you can pull out the things you don’t need. You can also add items to change the clip art and make it something new. In this case, we’re going to combine the two images and make it look like the woman is presenting to the group at the table.
[Note: Microsoft stopped providing clip art but you can still use the same ideas by ungrouping vector images in PowerPoint.]
- Ungroup the images.
- Start with the first image. Take out the elements you don’t want.
- Select the entire image and regroup it.
- Do the same for the next image.
- Combine the elements from image 1 with image 2 to make the desired image.
- Select the entire image and regroup it to make a single image.
- If you want to use the image elsewhere, go ahead and save it by right clicking on it and selecting “save image as” and choose the format you prefer. I recommend .emf because you’ll retain the image transparency and vector. However, you’ll see that there are many formats from which to choose.
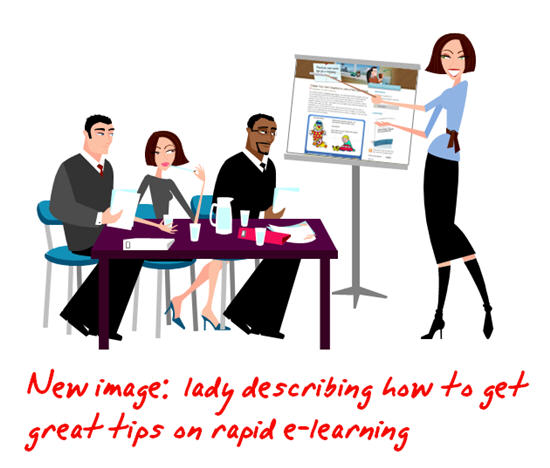
If you look at the image you’ll notice that I did a few things.
- I took one of the people out of the team image. She was facing the wrong direction.
- I flipped the team image so that it looked like they were facing the presenter.
- The presenter’s shirt was white, so I changed the color.
- I got rid of the backgrounds and the presenter’s table to make the image less cluttered.
- I layered the presenter behind the table to give the image a little depth.
- I changed the content on her flip chart, taking her from boring corporate drone to brilliant elearning consultant.
Now it’s your turn to practice doing this. Remember, the only limitation is your creativity. If your people need hard hats, find a hard hat image and add it to the clip art. If you need multiple ethnicities, change the hair and skin color. The possibilities are endless.
Here are three quick tips.
- Create a work slide. I build a lot of my elearning courses in PowerPoint and publish with Articulate Presenter. I tend to create the images I need on the fly. Because of this, I like to use a blank slide as a work area. I’ll move the clip art to the slide, make it big and then take it apart. Once I am done, I copy and paste the image to the real slide. This way I don’t accidentally, mess up my content slides.
- Control the clutter. The ungrouped elements that make up the image are layered. Sometimes, it’s not easy to get to what you want. What I do is make a series of duplicate images and delete what I don’t want. Then I pull the individual pieces together and regroup the image.
- Create mini groupings. I find it easier to grab a part of the image and create a mini group rather than work on the whole image. This way you only have to work with a few mini groups rather than hundreds of little pieces.
By ungrouping and modifying existing clip art, you have the ability to make custom images to fit the needs of your elearning course. It’s inexpensive and, once you get a handle on it, pretty quick to do. In fact, outside of the original stick figures, I built all of the graphics for this post in PowerPoint. It only took about 5 minutes to build the presenter image for this demo.
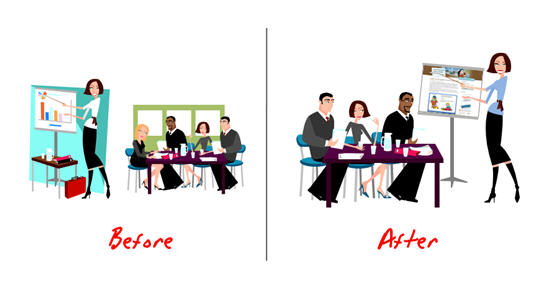
I’m interested in seeing some before and after images. Feel free to send them my way. When I get enough, I’ll post them for others to see what can be done.
In the next post, we’ll look at how to use image styles so that you have consistent graphics to use throughout your elearning course.
Events
- Everyday. Check out the weekly training webinars to learn more about Rise, Storyline, and instructional design.
Free E-Learning Resources
 |
 |
 |
|
Want to learn more? Check out these articles and free resources in the community. |
Here’s a great job board for e-learning, instructional design, and training jobs |
Participate in the weekly e-learning challenges to sharpen your skills |
 |
 |
 |
|
Get your free PowerPoint templates and free graphics & stock images. |
Lots of cool e-learning examples to check out and find inspiration. |
Getting Started? This e-learning 101 series and the free e-books will help. |



135
comments