How to Create Your Own Hand-Drawn Graphics
December 21st, 2021
Earlier we looked at the essential guide to visual thinking where we discussed how to communicate visually. Coupled with that post, we explored practical ways to apply visual thinking skills to e-learning course design.
One advantage of visual thinking is learning to see the concepts and how to express them to others. Another advantage is that you gain the skills to create real assets that can be used in your e-learning courses.
Today we’ll look at ways to create our own hand-drawn graphics. And of course, you can always download some free hand-drawn graphics in the community:
- 50 Stick figures
- 32 chalkboard graphics
- 21 hand-drawn circles
- 28 hand-drawn boxes
- 54 miscellaneous graphics
- 8 objects: books & notebooks
- Arrows & lines
- X-marks: red & black
- Check marks: red & green
How to Practice Sketching Hand-Drawn Graphics
Hand-drawn objects can create a personal and organic look. They are a stark contrast to the sterile corporate look that is so common in many courses. This contrast and the organic look can be used to craft an engaging look for the course. You don’t have to be an artist to create and use hand-drawn images. It just takes some practice.

A while back, Blair Rorani facilitated a Twitter Draw-a-Thon. Each day several people submitted their sketch of that day’s object. This was a good exercise to think about the objects and how to draw them.
One thing I learned was to streamline my drawings and use less to communicate more. I also tried to practice different face styles. As you can see, I’m not going to sustain a career in graphic design, but with some practice, I can create a few usable objects.
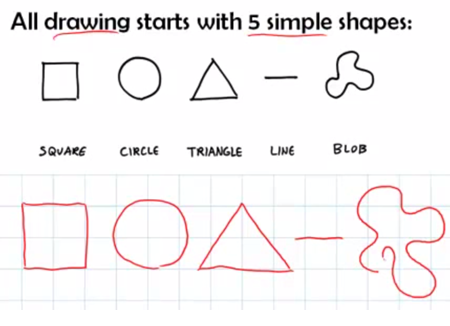
Start with Basic Shapes
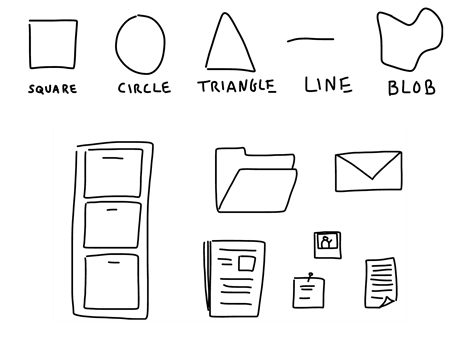
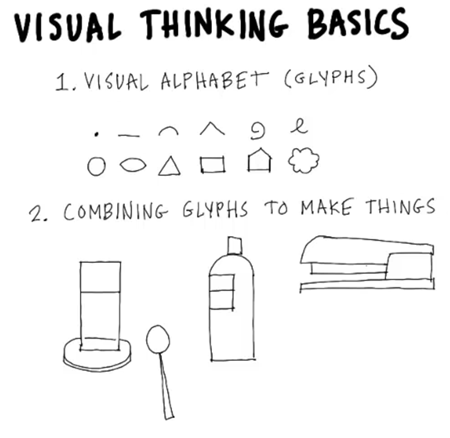
Most objects are basic shapes, so you need to learn to see the basic shapes in the objects. Then practice drawing them. The more you practice, the better you get.

Once you recognize the basic shapes, you’ll get better at streamlining your drawings. I find that the less detail, the better.
Practice Drawing Common Course Objects
There are a few objects that are common to many e-learning courses. Start by practicing sketching them. Break them into basic shapes and then see what you can sketch. Here are a few common objects to get started. Feel free to add to the list in the comments section.
- File folder open & folder closed
- Piece of paper & a stack of paper
- Desktop & laptop computers
- Envelope
- Paper clip
- Phones: mobile & stationary
- Desk & overhead desktop
- File cabinet
- Whiteboard
- Cork board
My Experience
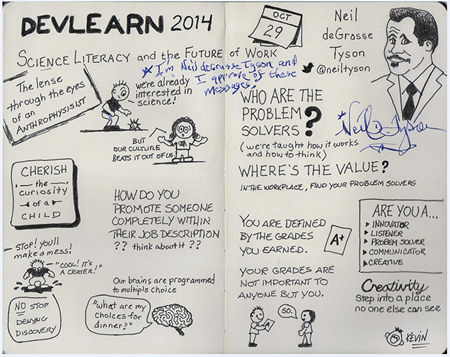
As I mentioned in this blog post on overcoming instructional design challenges, Blair Rorani live sketched my presentation.
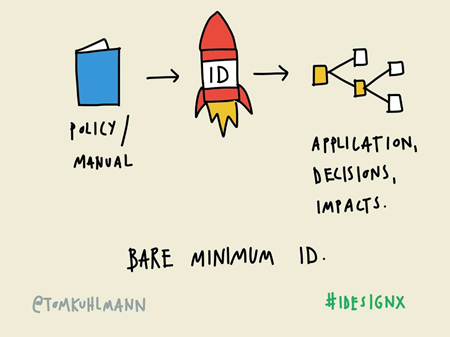
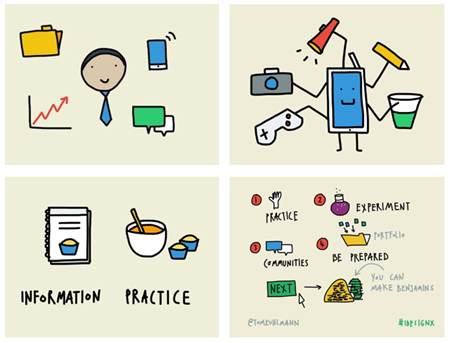
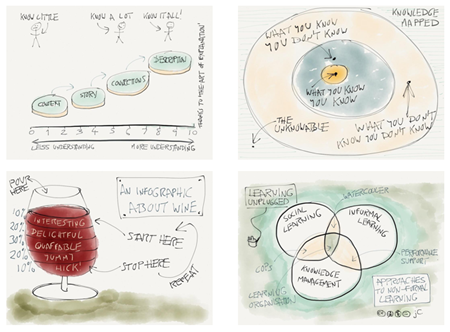
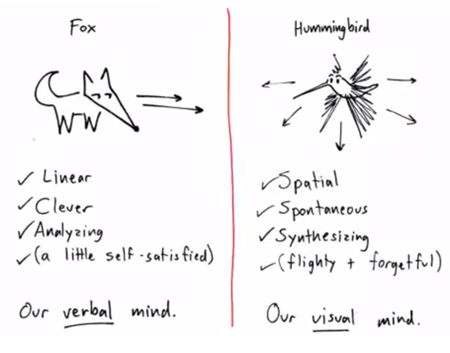
I liked what he did, so I tried my hand at live sketching at a workshop. You can see the results below.
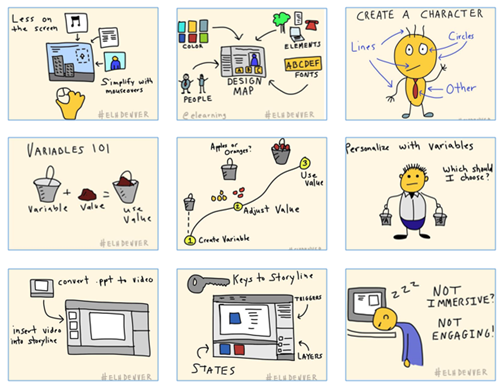
What I learned:
-
Find inspiration from what you like and copy it. I liked Blair’s style, so my first step was to mimic what he did. Now that I feel more comfortable, I can begin to craft my own style.
-
My initial sketches took too long between capturing the big idea and trying to make it work with technology (I used the iPad and Adobe Ideas). However, once I completed a few of the sketches, I developed some basic procedures that helped make it faster.
-
Spend some time practicing before doing it live or as you sketch for your e-learning courses. One idea is to capture something going on at home. This would also probably produce a lot of laughs, too. Or just turn on the news and sketch what’s being discussed. The main point is to practice and to apply the basic concepts discussed above: use basic shapes to create objects and then practice sketching ideas.
-
Don’t worry about everything being perfect. Just do it. They look nice as they are and there’s something engaging about the organic look. However, I do recommend that you practice writing text, especially if you’re using an iPad. For the iPad I use the Cosmonaut stylus because the thicker pen helps me hold it more like I would on a whiteboard than on a piece of paper. I feel like I have more control when I draw. The newer PC tablets have pen input, and some come with a stylus.
We’re not all going to be artists who can crank out the best graphics. However, with some practice we can learn to communicate visually and streamline our graphics, so they do work in our courses (assuming the proper context).
Do you draw your own objects?
Events
- Everyday. Check out the weekly training webinars to learn more about Rise, Storyline, and instructional design.
Free E-Learning Resources
 |
 |
 |
|
Want to learn more? Check out these articles and free resources in the community. |
Here’s a great job board for e-learning, instructional design, and training jobs |
Participate in the weekly e-learning challenges to sharpen your skills |
 |
 |
 |
|
Get your free PowerPoint templates and free graphics & stock images. |
Lots of cool e-learning examples to check out and find inspiration. |
Getting Started? This e-learning 101 series and the free e-books will help. |





7
comments