How to Practice Visual Thinking Skills & Apply Them to E-Learning
December 14th, 2021
In a previous post, we discussed visual thinking concepts and where they fit with e-learning design. Now, let’s look at ways to practice sketching your ideas so that you’re able to move past understanding the concepts and actually applying them to your course.
How to Practice Your Visual Thinking Skills
The first step is to get a handle on the basics:
-
Learn to capture concepts using Roam’s visual grammar or Gray’s approach to visualizing ideas.
-
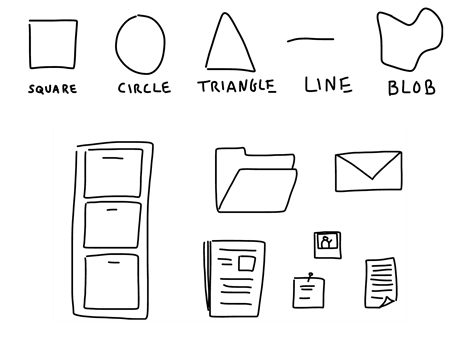
Become fluent with your visual alphabet and the basic shapes used as building blocks. This helps you see the basic shapes in the objects you want to create.
-
Practice using the basic shapes to create specific objects. The more you practice the better you’ll become at seeing the shapes and sketching something that looks like what it’s supposed to be.
Practice Activities for Visual Thinking Skills
Some people have innate skills and sketching isn’t too hard to start. But many don’t have those skills and feel like they can’t do it. But they can. A key point is to feel comfortable sketching.
Remember, this isn’t about becoming a graphics design professional. You want to get a feel for the flow of drawing with your pen, especially if you’re using a computer or tablet. Then develop some fluency and clarity. And that will take a little practice.
Here are some practice activities.
Activity 1: Create basic shapes over and over again.
Work on getting lines straight and completing the desired shape in less strokes. Can you create the shape in one movement and still have it look like it’s supposed to? For example, I notice that if I create a triangle really fast, then the sides start to bow in. However, if I am more deliberate my lines remain straight. The goal is to get straighter lines at a faster speed. A circle should like a circle and not a blob.
Activity 2: Creating common objects.
Look around your office and identify 10 random objects. Break them down by the basic shapes and then create them a few times. For example, here’s a quick sketch of my desk. It’s mostly rectangles and a few circles.

Another thing is to recognize what makes the shape unique and identifiable. For example, an elephant stands out because of the trunk and large ears. By focusing on the essential shapes you can convey the idea of an elephant without having to create the entire thing.
Activity 3: Convey concepts with your objects.
Start to practice sketching whole ideas. Identify three TED videos and capture the core concepts as sketches. It may be easier to just start with three main ideas from each video. Or if that is too much, just focus on a single point. The good thing about video is that you can pause it and rewind. Here are three to help you get started:
Activity 4: Improve your penmanship.
Sunni Brown has some good advice in her book Doodle Revolution where she says to trace over letters. Find a font type you like and type out the ABCs and save as an image. Then load the image into your drawing app and practice tracing over the letters. Eventually you’ll develop the muscle memory to create nice legible handwriting for your sketches.
When I was a Finance Specialist in the Army we were taught to use block letters so that our writing was more legible. To this day, I still do a lot of printing with block letters and it helps when I write, especially smaller text.
Examples of Visual Thinking Skills in E-Learning
Here are a three examples of people who do a great job sketching their ideas and are part of our industry. They also offer tips via twitter and their blogs.
-
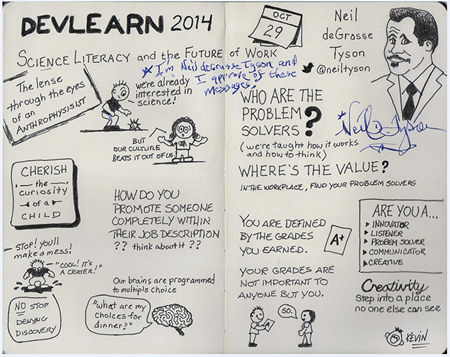
Kevin Thorn of NuggetHead Studioz. I ran into Kevin at a Devlearn conference. He showed me his sketch note of the Neil deGrasse Tyson keynote. Obviously we don’t all have Kevin’s innate drawing skills, but if you look past the drawings it’s mostly print and a few basic shapes.
-
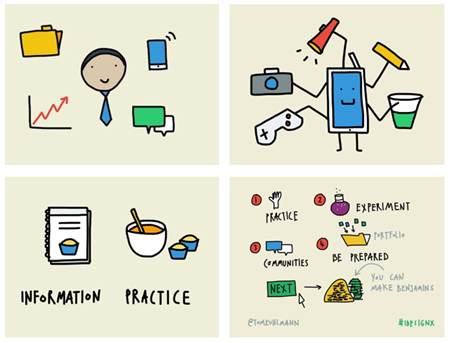
Blair Rorani of Ever Learning. At a workshop I did in in Australia, Blair live sketched my presentation which I noted in this post on instructional design challenges.
-
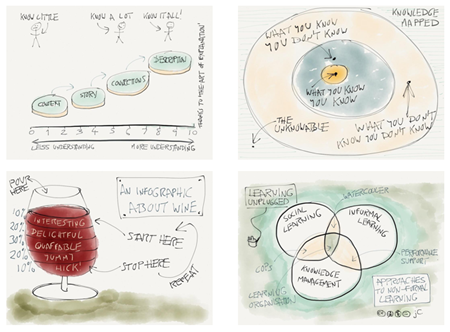
John Curran of Designed for Learning. I love John’s sketches. Again, they’re not overly complicated to create,
but they convey good information and the hand drawn style creates enough contrast to engage people visually.
The key in all of this isn’t to become a pro graphic designer. Instead it’s learning to think visually. E-learning is a mostly visual medium and anything we can do to better communicate our ideas will only serve to make the courses we create better.
Events
- Everyday. Check out the weekly training webinars to learn more about Rise, Storyline, and instructional design.
Free E-Learning Resources
 |
 |
 |
|
Want to learn more? Check out these articles and free resources in the community. |
Here’s a great job board for e-learning, instructional design, and training jobs |
Participate in the weekly e-learning challenges to sharpen your skills |
 |
 |
 |
|
Get your free PowerPoint templates and free graphics & stock images. |
Lots of cool e-learning examples to check out and find inspiration. |
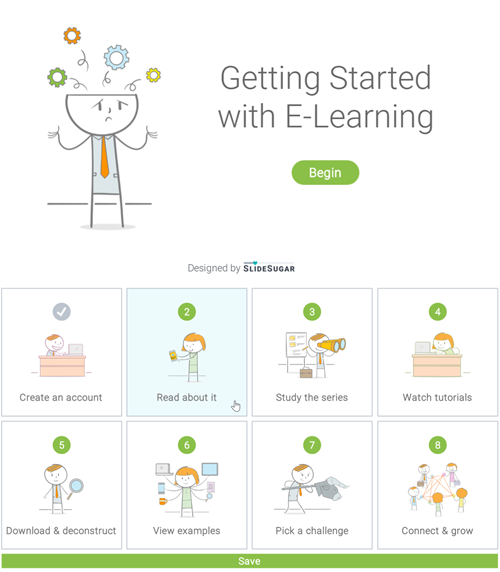
Getting Started? This e-learning 101 series and the free e-books will help. |


19
comments