25 Free Illustrated Characters
September 5th, 2023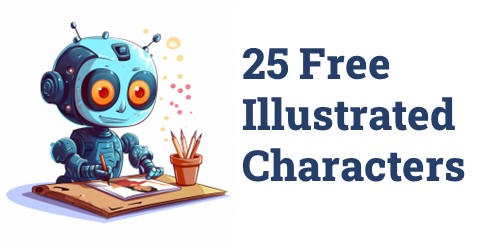
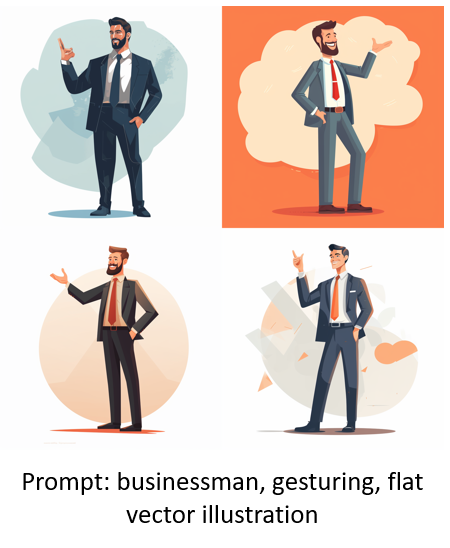
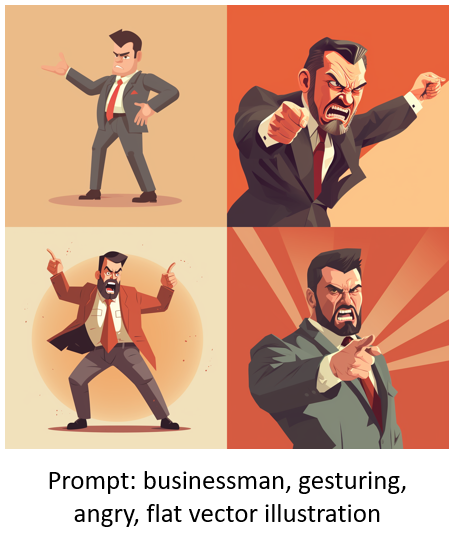
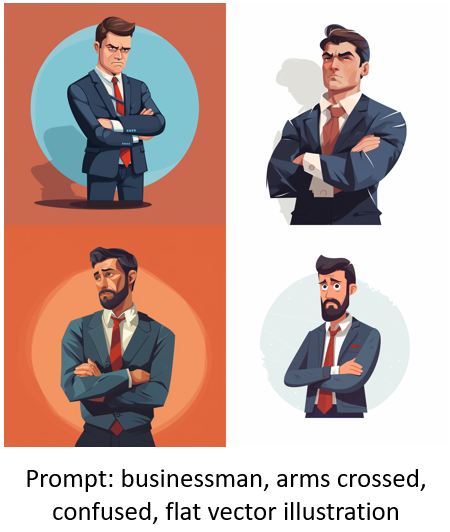
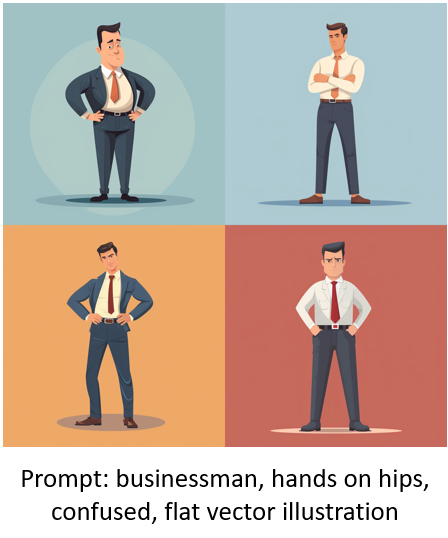
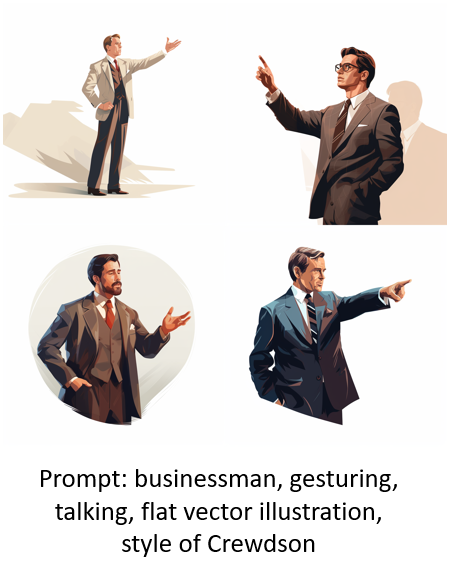
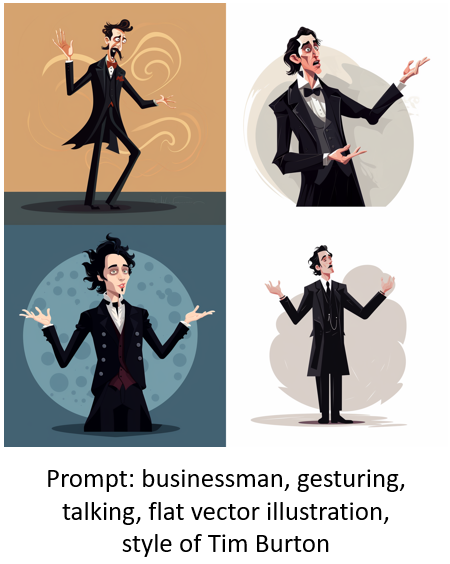
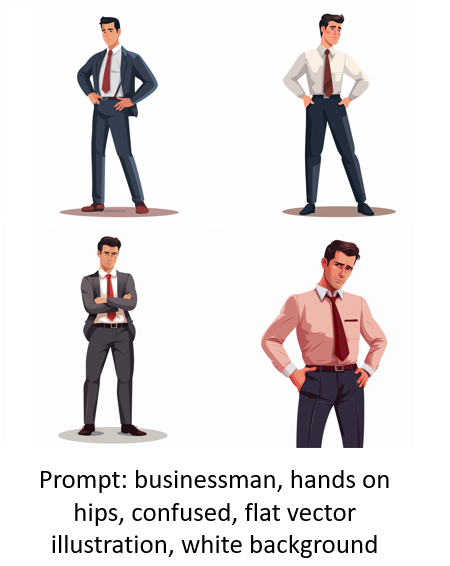
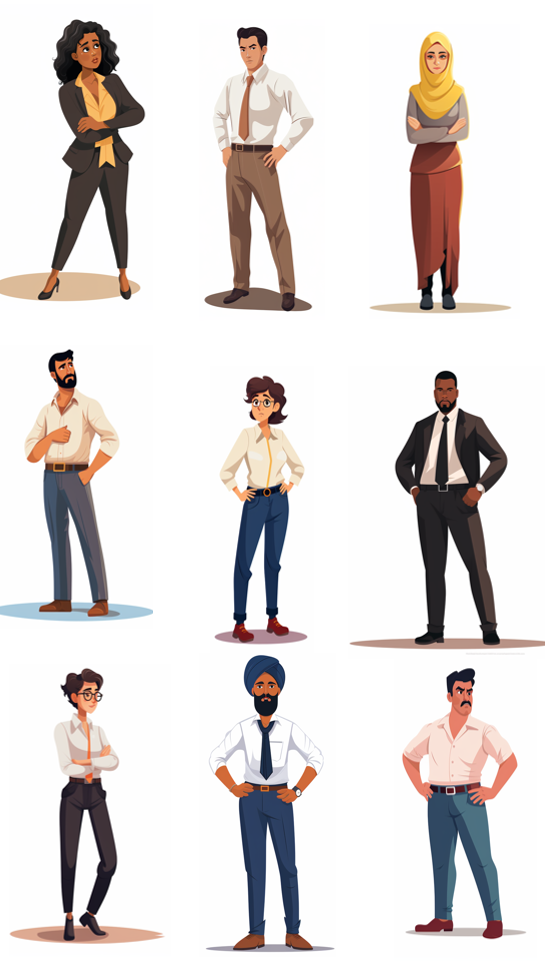
Here’s a back-to-school special! As you may know, I’ve been playing around with AI and creating illustrated characters for e-learning. Each day I committed to releasing one character which you can find below. As a grand finale, I pulled together 25 illustrated characters for you to use.
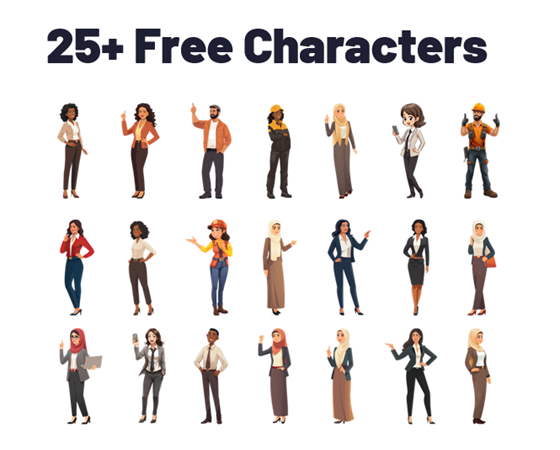
25 Free Illustrated Characters
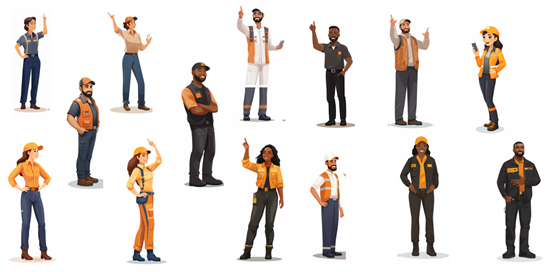
Here’s a batch of characters with some diversity. The file includes 25 characters with 100 poses. You can download them here.
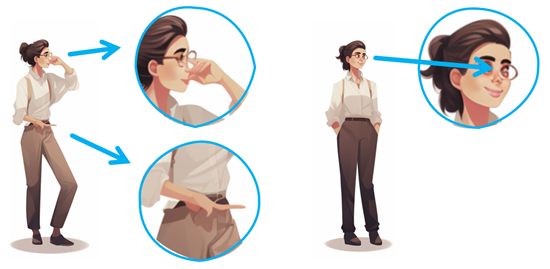
Learn to Create Your Own Characters
I’ve outline what I do to create these characters. If you want to learn to create them for yourselves, check out the links below:
- What I Learned Creating AI Images for E-Learning
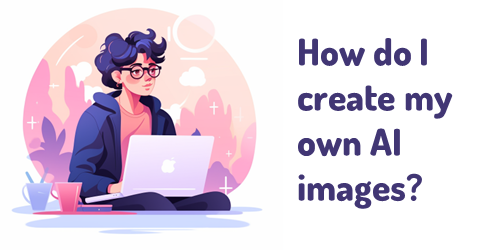
- Simple Tips on Creating Your Own Illustrations with AI
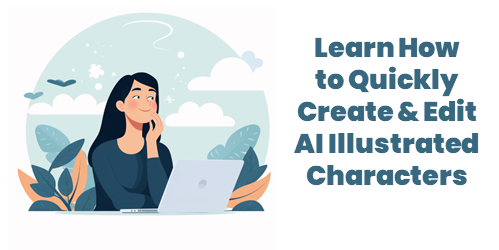
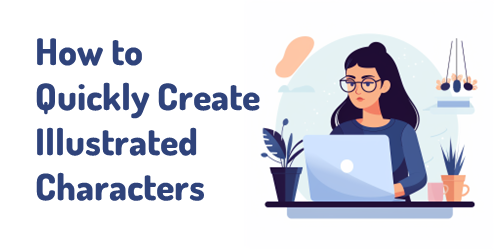
- How to Quickly Create Illustrated Characters with AI
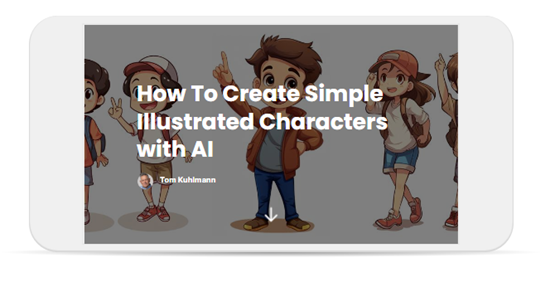
- Free course: How To Create Simple Illustrated Characters with AI
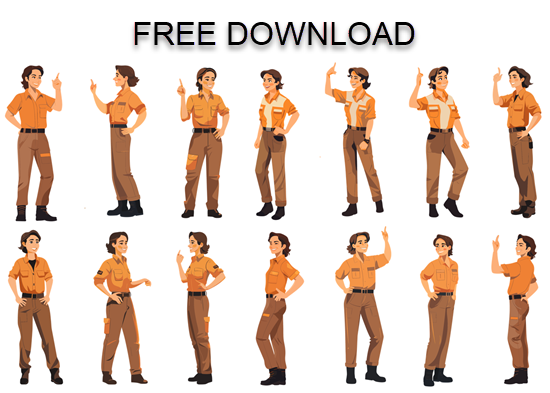
Download Free Illustrated Characters
Here is an assortment of free illustrated characters for you to download.

- Sarah
- Alex
- Casey
- Julio
- John
- Business Men x 4
- Evelyn
- Kimberly
- Carl
- Brad & Jimmy
- 44 Wheelchair Characters
- Amelia
- Jenny
- Mia
- Eric
- Teens Chad & Annie
- Wanda
- Farah
- Lucia
- Barry
- Emi
- Alexa
- Maria
- Luca
Events
- Everyday. Check out the weekly training webinars to learn more about Rise, Storyline, and instructional design.
Free E-Learning Resources
 |
 |
 |
|
Want to learn more? Check out these articles and free resources in the community. |
Here’s a great job board for e-learning, instructional design, and training jobs |
Participate in the weekly e-learning challenges to sharpen your skills |
 |
 |
 |
|
Get your free PowerPoint templates and free graphics & stock images. |
Lots of cool e-learning examples to check out and find inspiration. |
Getting Started? This e-learning 101 series and the free e-books will help. |