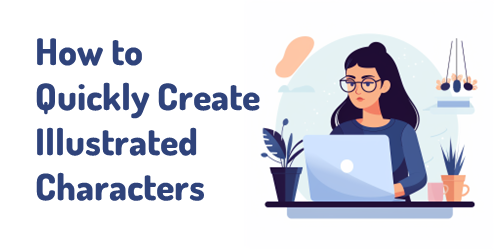
Here’s a Quick Course on Creating & Editing AI Illustrated Characters
August 22nd, 2023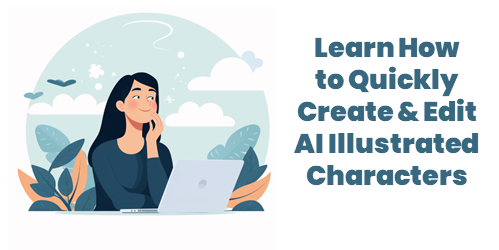
There’s a lot of promise to artificial intelligence (AI) for image generation. However, as it currently works it’s not as simple as prompting an image and getting something perfect to download and use. AI can generate a lot of nice results quickly. However, using the images for production work can be a challenge.
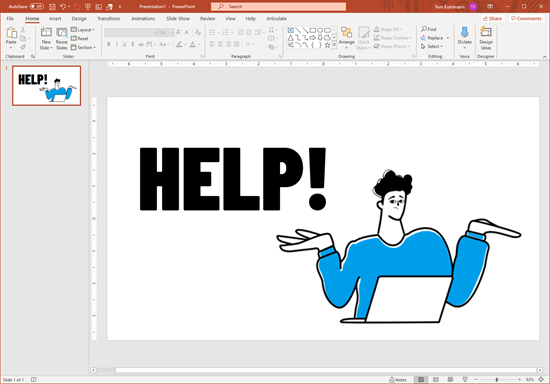
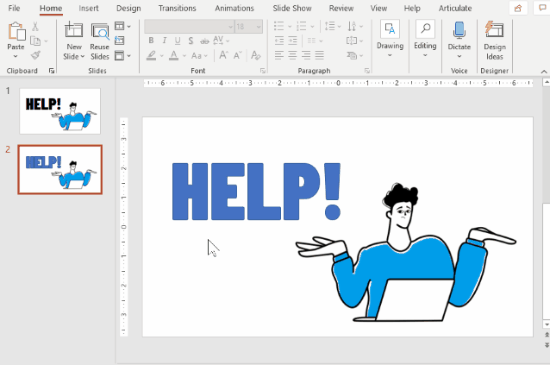
My key objective is to create viable (not necessarily perfect) characters that I can use in online training programs or PowerPoint presentations. I am not a professional illustrator or Photoshop pro, so I want some steps that are simple and not too time consuming.
Here are some previous posts where we looked at some ideas:
- What I Learned Creating AI Images for E-Learning
- Simple Tips on Creating Your Own Illustrations with AI
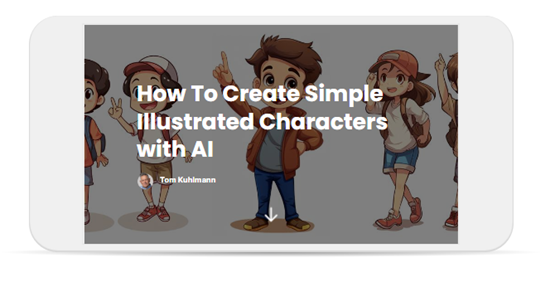
- How to Quickly Create Illustrated Characters with AI
I’ve been playing around with some AI image generators to get a better feel for how they work and how I can use them when I create e-learning courses. I narrowed it down to a few basic steps that seem to work for me:
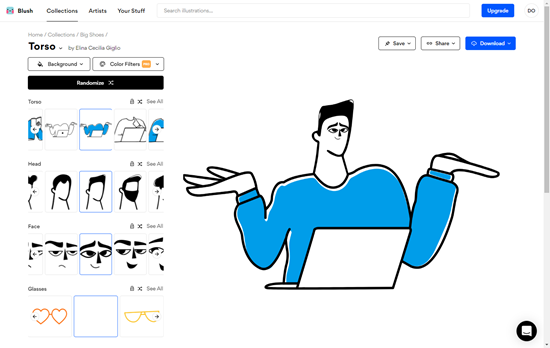
- Create the character(s) using prompts in AI
- Edit it to fix artefacts
- Crop to isolate the character
- Upscale for better quality
- Remove background
- Convert to vector
The Reality of Working with AI Illustrated Characters
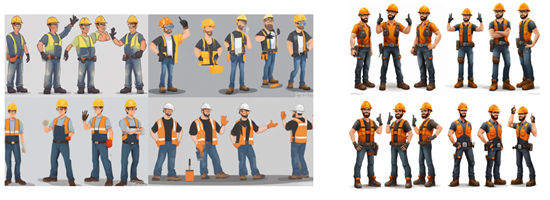
AI generates a lot of weirdness with illustrated characters between the twisted hands, distorted faces, missing eyes, odd poses, and missing limbs and fingers. I don’t always find the same issue with photographic characters probably because there are more models from which to learn.
Consistency is the other issue. Getting one good character isn’t too hard but getting that same character in multiple poses is a challenge. Or getting different characters with the same style. It takes a little practice and willingness to settle for close enough.
Quick Microlearning Course for Creating AI Illustrated Characters
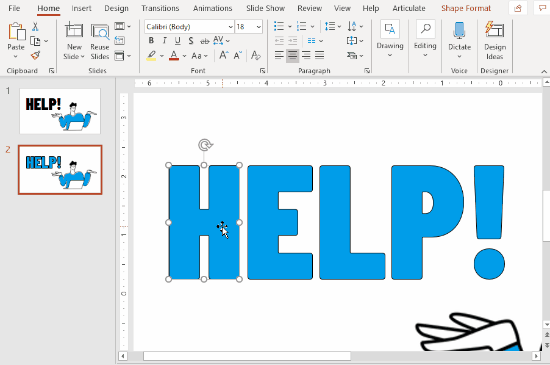
I used Rise 360 to put together a simple course that shows the process I go through to create the free illustrated characters I’ve been sharing. You’ll notice that my editing skills in Photoshop are basic, so hopefully you’ll be inspired to try creating characters yourself.
Click here to view the course.
I also added a quick survey if you want to share character ideas with me. I’ll use the results to test things out.
Events
- Everyday. Check out the weekly training webinars to learn more about Rise, Storyline, and instructional design.
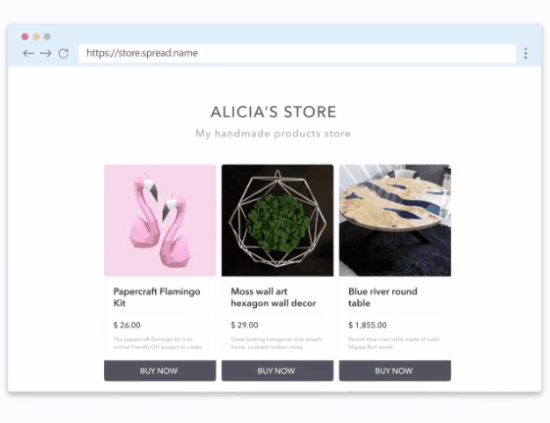
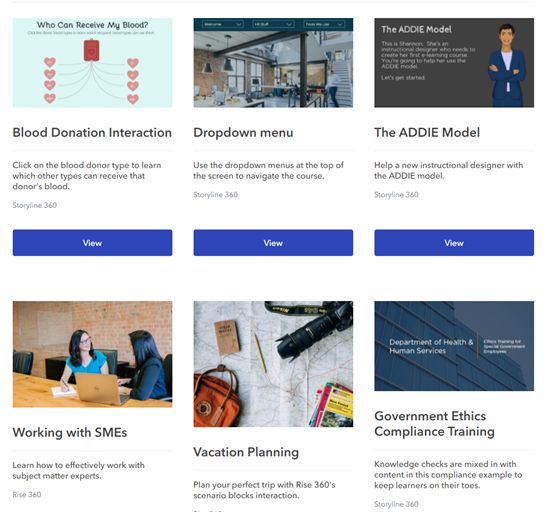
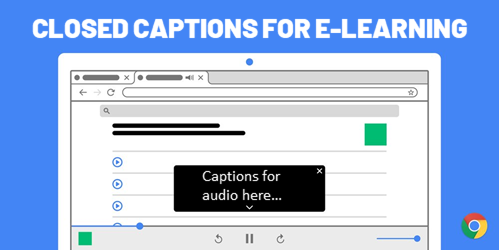
Free E-Learning Resources
 |
 |
 |
|
Want to learn more? Check out these articles and free resources in the community. |
Here’s a great job board for e-learning, instructional design, and training jobs |
Participate in the weekly e-learning challenges to sharpen your skills |
 |
 |
 |
|
Get your free PowerPoint templates and free graphics & stock images. |
Lots of cool e-learning examples to check out and find inspiration. |
Getting Started? This e-learning 101 series and the free e-books will help. |