Here’s a Visual Design Tip to Make Your Slides Look Great
January 19th, 2016
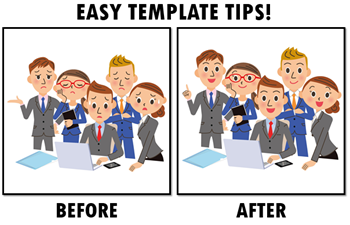
Let’s face it, we’re not all graphic designers and it can be a chore to get the right look for your slides. This is especially true if your slide is a little light on content leaving a lot of white space. And when this happens, we feel obligated to fill it with something like decorative clip art.
The following visual design tip is a great way to fill the space and maintain some context. It adds texture, looks nice, and is really easy to implement.
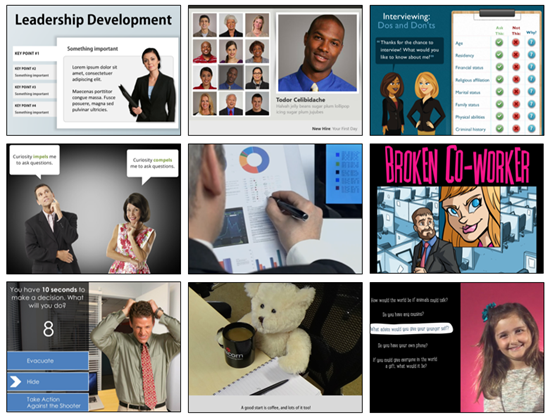
Examples of the Visual Design Tip
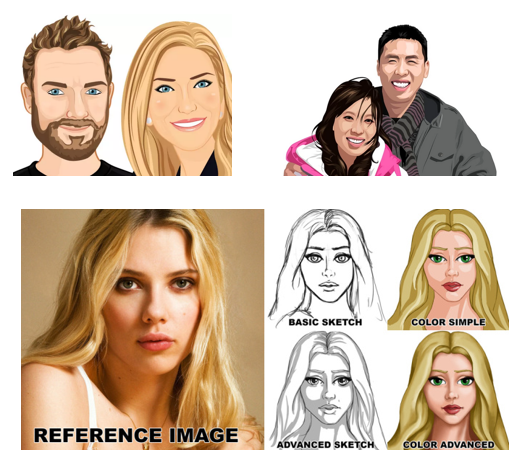
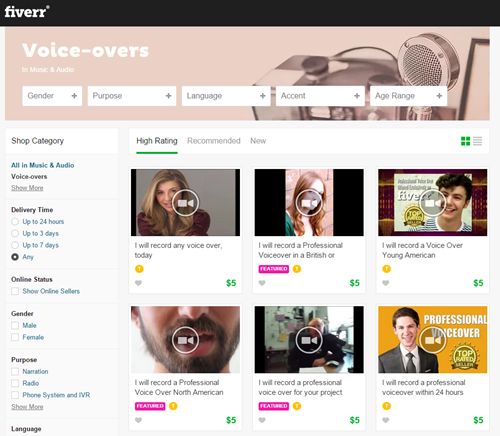
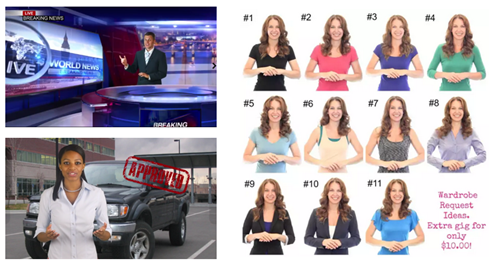
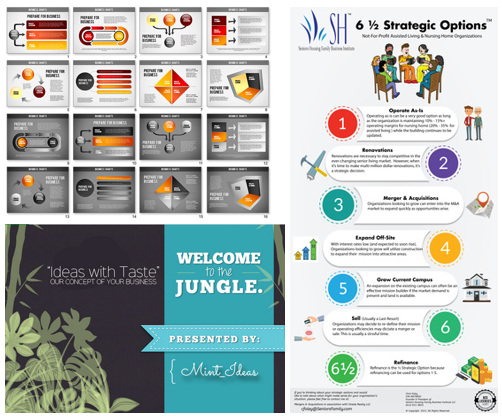
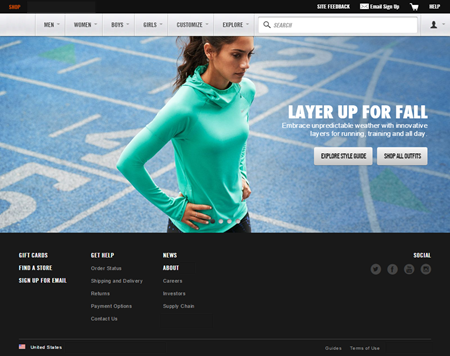
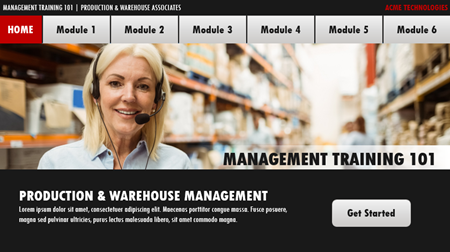
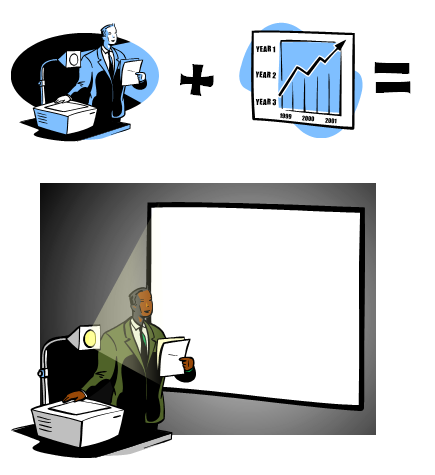
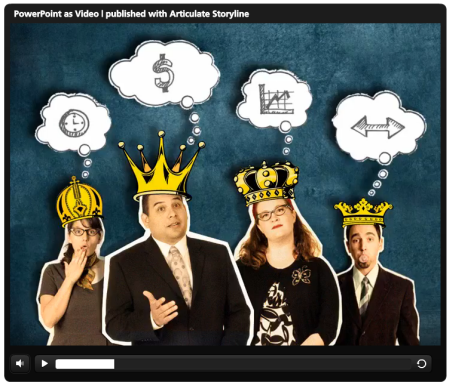
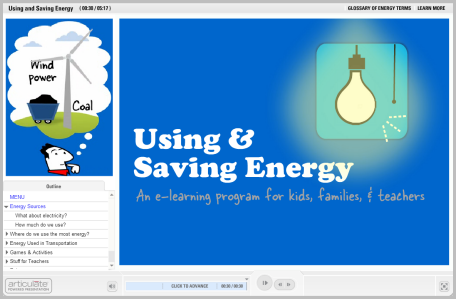
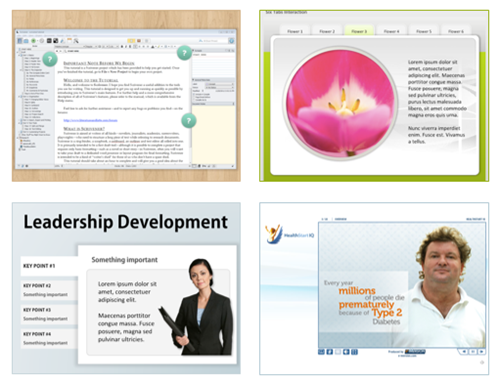
I’m not sure if there’s a formal name for this visual design tip but I like to call it the transparent echo technique. You’ll notice that the main image is repeated, like an echo. It’s still present but it’s softer and subtle. Here are some good examples of it in action.

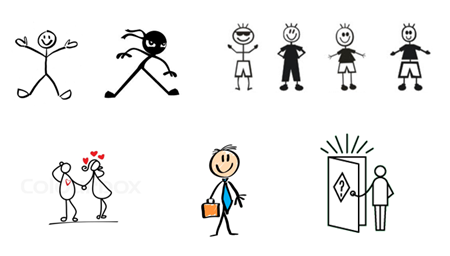
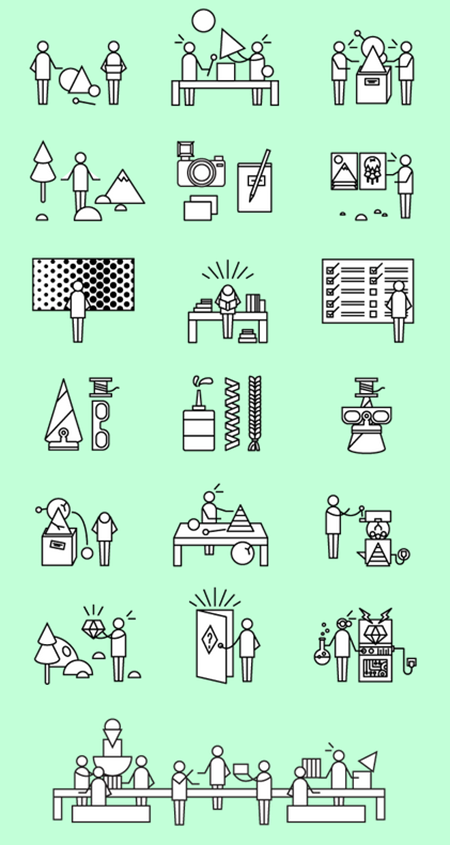
As you can see the transparent echo technique works with objects, characters, and even illustrations. It’s a good visual design tip to have in your tool chest.
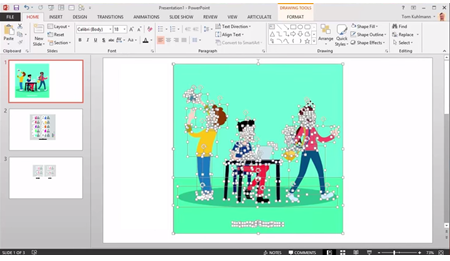
Step to Create the Transparent Echo Technique
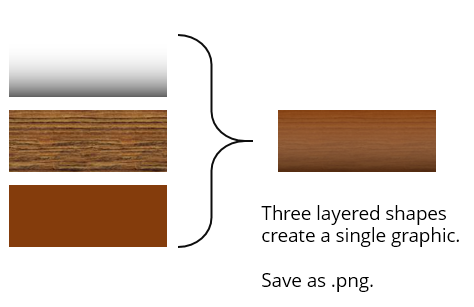
Essentially you copy and paste the primary object and use it as a background image.
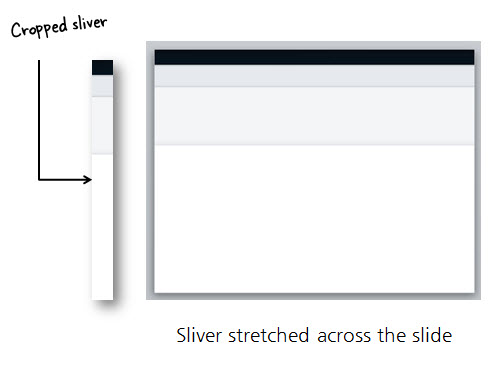
- Duplicate the main image and place on the background.
- Scale the background image up and crop it or move it a little off screen. There’s no right or wrong way to align it. Just do what looks good.
- Subdue the image. There are a few ways to do this. You can make the image semi-transparent or use the recolor image feature in PowerPoint and Storyline. Another option is to cover the background with a white shape that is semi-transparent. That gives you an easy way to play adjust the level of transparency.
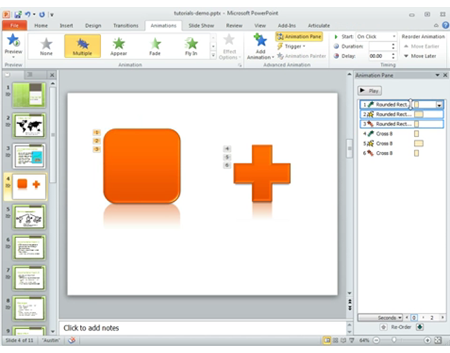
Here’s a video tutorial that walks through the process.
Click here to view YouTube video.
As you can see it’s pretty simple to implement and it’s repeatable with different images throughout the course. Thus you can have slides with different objects, but using the transparent echo technique allows the slides and visual design to remain consistent throughout the course. This technique works great for start screens and menus.
Here are some additional production tips and considerations:
- Remove the color from the background image. I find that gray images blend better as they are made transparent.
- Make sure to be consistent in the transparency setting if you use the effect on multiple slides.
- Colorize the overlay shape. Pick a color from the main image and tint a semi-transparent shape that sits over the background image.
- Cut out images work best. You can remove backgrounds from the image in a graphics editor or PowerPoint.
- Play around with the scaling of the image and how it’s framed on the slide.
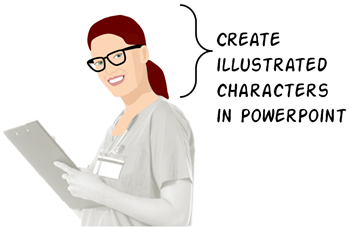
- Use derivatives of the same image. Look at the doctor image above. Same character but different poses.
The transparent echo technique is an easy way to dress up slides without plastering it with clip art or decorative images. You maintain context and get a nice graphic with minimal effort. If you try your hand at it, I’d love to see what you do.
Events
- Everyday. Check out the weekly training webinars to learn more about Rise, Storyline, and instructional design.
Free E-Learning Resources
 |
 |
 |
|
Want to learn more? Check out these articles and free resources in the community. |
Here’s a great job board for e-learning, instructional design, and training jobs |
Participate in the weekly e-learning challenges to sharpen your skills |
 |
 |
 |
|
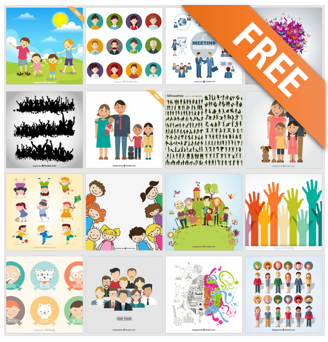
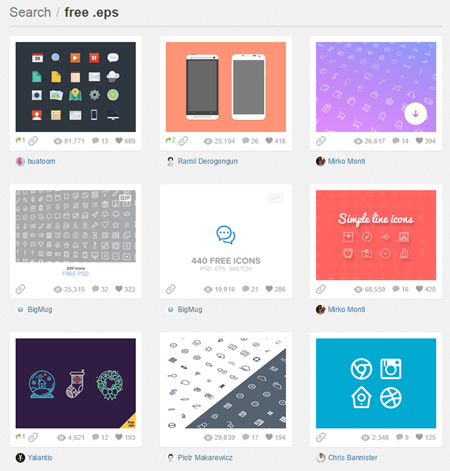
Get your free PowerPoint templates and free graphics & stock images. |
Lots of cool e-learning examples to check out and find inspiration. |
Getting Started? This e-learning 101 series and the free e-books will help. |


12
comments