PowerPoint is probably the single best multimedia application available because of its versatility. You can create presentations, rapid elearning courses, illustrations, videos, mobile learning and even books for publishing.
PowerPoint also offers ease of entry. That means someone with no experience can open the application and get started. And the person with lots of experience is given all sorts of capability.
The main challenge with PowerPoint is that many people don’t fully understand the features and usually do very basic work with PowerPoint. And of course a lot of the negativity surrounding PowerPoint comes not from the tool, but instead from sitting through tedious PowerPoint-driven lectures and presentations.
I was asked recently about my favorite PowerPoint tips and tricks. I have a lot that I like, but here are a few of the ones I use quite a bit and find the most valuable.
PowerPoint Tip 1: Step Away from the PowerPoint Template
Templates are good, especially for new developers and those who want to save time. However, your project should guide the template and not the opposite. Unfortunately most people tend to start with the default PowerPoint templates and layouts. So everything has a distinct PowerPoint look.
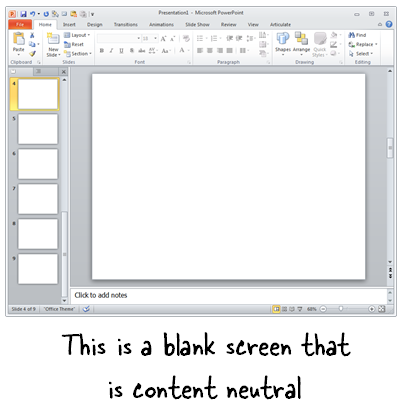
My advice? Put the bullet points down and step away from the template. Start with a blank screen and be intentional about what you build. If you do build a template, build it specific to your project’s needs.
PowerPoint Tip 2: Control Layers with the Selection Pane
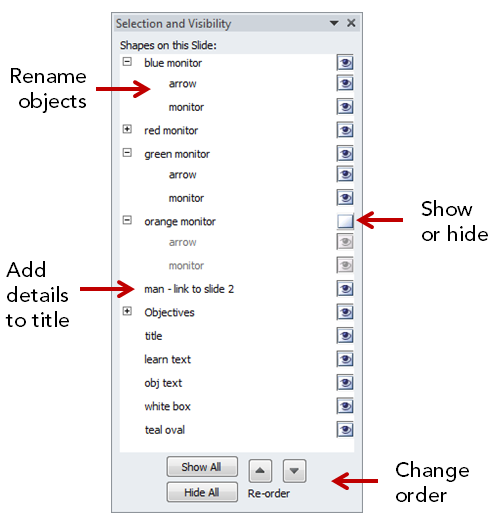
The selection pane displays the objects on the slide. Here is what you can do with the selection pane:
- Name objects
- Change the stacking order
- Show and hide objects
PowerPoint Tip 3: Combine Shapes to Create Custom Shapes
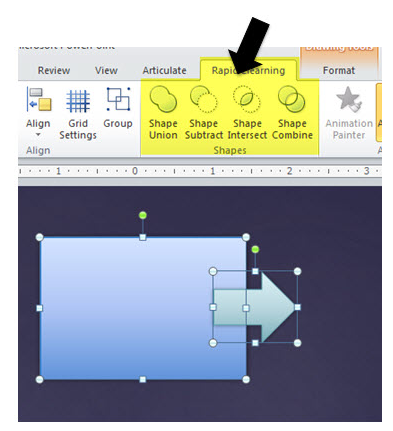
Starting with PowerPoint 2010 you can combine shapes to create custom shapes. Most of the time I use this feature to create custom callouts. I also use it to punch out parts of a shape I don’t need. Combine that with the edit points feature and you can create any shape you want. You can also use the fragment feature to convert text and wingding type into vector images which we looked at earlier. This is perfect for creating your own icons.
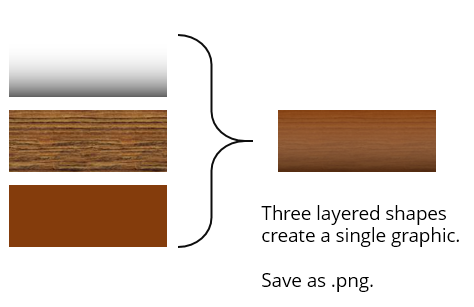
PowerPoint Tip 4: Layering Objects to Create Custom Graphics
We can stack objects in PowerPoint and control them with the selection pane. We can also make objects transparent. That means we can stack transparent objects to create custom images. Group the objects, right click, and save as an image file. I usually save as .png to retain transparency.
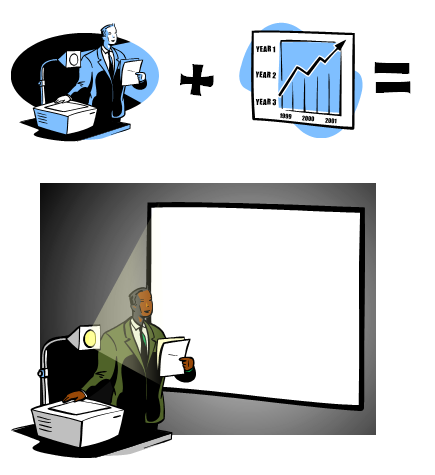
PowerPoint Tip 5: Customizing Clip Art & Vector Graphics
I have a ton of posts on this, which you can find below. Essentially most clip art in PowerPoint is .wmf or .emf. That means they are comprised of grouped vector shapes which can be ungrouped and modified and then regrouped.
Unfortunately, Microsoft is dumping the Office.com and clip art site. So I’m not sure how much longer you’ll have to work with these types of files without buying your own. But in the meantime, take advantage of the free resources and create your own graphics.
PowerPoint Tip 7: Apply Custom Formatting with the Format Painter
The format painter is an underutilized feature in PowerPoint. Essentially any object’s formatting can be applied to another. I use it create quick styles for the objects in my courses. Then I can apply that to the other objects on the slide.
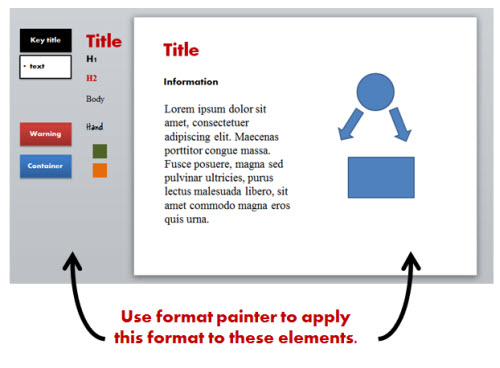
This comes in handy when you get one of those junky PowerPoint files from a subject matter expert where there’s no rhyme or reason to the visual design. Create a quick style guide and then use the format painter to apply it.
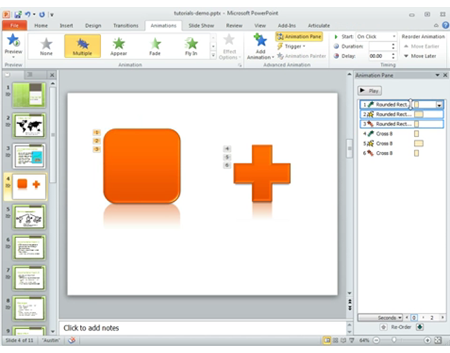
PowerPoint Tip 8: Apply Animations to Multiple Objects Using the Animation Painter
The animation painter is very similar to the format painter. The only difference is that instead of applying an object’s format you apply the object’s animations. This comes in really handy if you have an object with multiple animations and need to duplicate those animations to other objects. In the past, you had the tedious process of rebuilding the animations onto each object. Today, that can be done in seconds using the animation painter.
Here’s a quick video that shows how it works.
Click here to view the YouTube video.
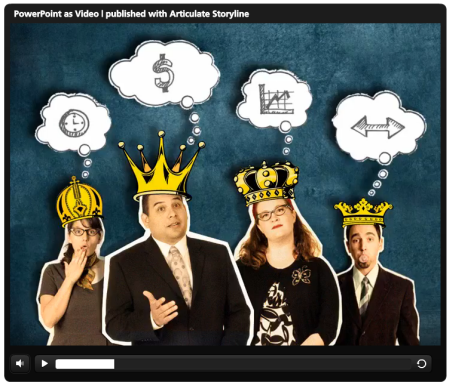
PowerPoint Tip 9: Save PowerPoint Presentations as Video
This is one of my favorite features because anything you build in PowerPoint with animations, narration, and multiple slides can be saved as a single video file.
Here’s a PowerPoint presentation that was saved as an .mp4 video and then inserted into the Storyline player. Try to create something similar with a video editing application. Trust me, it’s not that easy (especially without more advanced skills). But it’s really easy to do in PowerPoint.
Click here to play video.
In PowerPoint 2010 files are saved as .wmv and need to be converted to .mp4. I like to use Handbrake because they have pre-determined settings. In PowerPoint 2013 you can save as .mp4 so that saves a few steps.
The videos you create can be combined with your other elearning development. Here’s a good example where the sidebar video was created in PowerPoint and then inserted into a rapid elearning course.
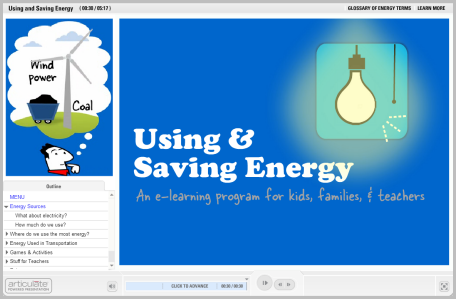
Click here to view the PowerPoint video demo.
PowerPoint Tip 10: Remove Image Backgrounds
One of the most common reasons elearning developers use image editors like Paint.net and Photoshop Elements is to remove backgrounds from stock images. And they work fine for that. But you can do the same thing in PowerPoint starting with PowerPoint 2010.

It’s real easy to do. Double-click on your image and select remove background. Then determine what you want to keep and what you want to remove. Easy as that.
Bonus tip: Use PowerPoint to Create Interactive E-Learning Courses
PowerPoint is a tool most people have and as you can see, is a very capable application. Combine that with Articulate Studio and you have a very easy way to create interactive elearning.
What you build in PowerPoint is converted to Flash or HTML5 to meet your elearning needs. While applications like Storyline add more interactive capabilities, PowerPoint is still an easy entry point for the person just getting started with elearning design.
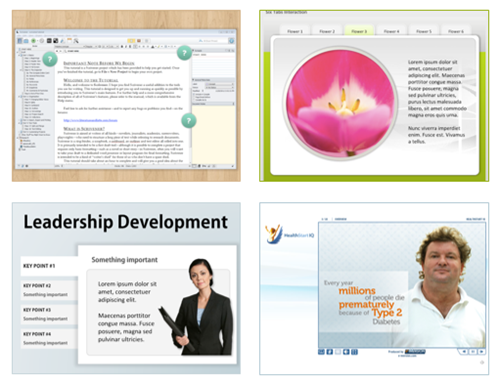
Here are some simple examples of PowerPoint-based interactions:
Other PowerPoint Tips & Tricks
There are literally hundreds of PowerPoint tips and tutorials in the blog. Here are some links from previous posts:
So those are some of my favorite PowerPoint tips. If you could add one tip, what would it be?
Events
Free E-Learning Resources


0
comments