Use PowerPoint to Create Custom Videos
July 24th, 2018
PowerPoint’s one of my favorite multimedia applications. It’s easy to use, almost everyone has a copy so it’s easy to share what’s created, and it does more than create presentations.
In fact, I regularly use PowerPoint to create the graphics and custom assets for my e-learning courses. Here are a few examples:
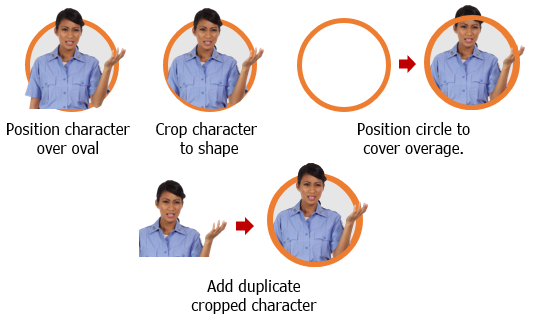
- Character graphics: I used PowerPoint and Studio 360 to create a circle avatar graphic.

- Custom graphics: Here’s an example where I used PowerPoint to create the graphics for my Rise flash card interaction.

- 3D model interaction: In this example, I used PowerPoint to create the 3D Mars Rover interaction in Storyline.

As you can see, PowerPoint is great for all sorts of multimedia production especially when combined with great e-learning software.
Create a Shaped Video
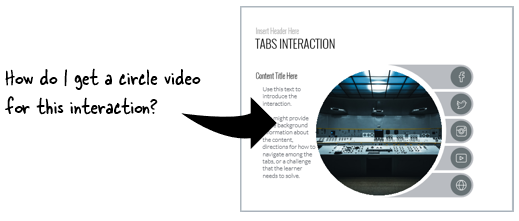
Recently someone in the community asked how to create a circle-shaped video for an e-learning interaction in Storyline.

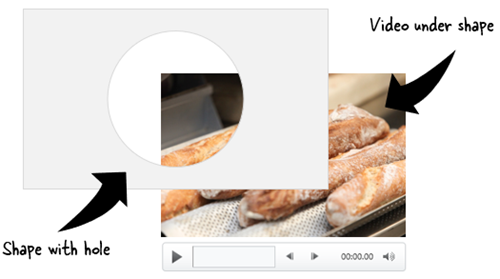
A real easy solution is to create an image with a circle hole in it and then place the video underneath only allowing the video to show through the circle hole. That’s fast and doesn’t require any editing of the video.

If you want a circle-shaped video, you can create one in a video editing application. However, this requires having a video-editing application that allows you to do that and also having the expertise to use the video editor (which most of us don’t have).
And this is where PowerPoint comes in handy. It’s a tool most of us have, and it can do exactly what you need with minimal effort.
Here’s a video tutorial that quickly walks through the steps outlined below.
- Customize slide size. A circle has a 1:1 aspect ratio. Change the custom slide size to 1:1 (something like 10″ wide and 10″ high). That should give you a video that’s almost 1000×1000 pixels.
- Insert a video. Choose your favorite video.
- Crop video to 1:1. Most likely the video is 16:9 or 4:3. You’ll need to crop it to 1:1 to get a perfect circle.
- Scale the video to fill the slide. You want the video to be as big as possible inside the slide.
- Save the file as video. Select .mp4. If you have an older version of PowerPoint you may have to save as .WMV. That’s OK, you can still use it in Storyline and Rise. You won’t get a circle video. The video is still going to be rectangular. But inside the rectangle will be the custom-shaped video.
Bonus tips:
- Play around with some of the video formatting options in PowerPoint. There are lots of neat things you can do.
- Same thing with animations and transitions. Anything you create in your PowerPoint slides can be save as video.
- The corners are not going to be transparent. You’ll want the video background to match the course background to get a seamless experience.
Hope that helps and is something you can use in an upcoming e-learning course.
Events
- Everyday. Check out the weekly training webinars to learn more about Rise, Storyline, and instructional design.
Free E-Learning Resources
 |
 |
 |
|
Want to learn more? Check out these articles and free resources in the community. |
Here’s a great job board for e-learning, instructional design, and training jobs |
Participate in the weekly e-learning challenges to sharpen your skills |
 |
 |
 |
|
Get your free PowerPoint templates and free graphics & stock images. |
Lots of cool e-learning examples to check out and find inspiration. |
Getting Started? This e-learning 101 series and the free e-books will help. |


0
comments