Screenshots and elearning go hand-in-hand. I use them for a lot of my software training. I also use them almost daily for project reviews. It’s easy to create a quick screen grab and then add a few notes. I also use screenshots when I run across a template or idea that I may want to use in a future elearning course. Just grab an image and save it in my ideas folder for later.
If you do a search you’ll find that there are a ton of screenshot products on the market—both free and paid. The free ones are hit and miss. Most look like they were built in 1995 and many are bundle with adware or possible malware. I’d stick with a paid tool because they don’t cost that much. But what do you do if you don’t have the money for a paid tool and you don’t want to download risky free product?
The good thing is that if you need to do screenshots, most likely you already have the tools to do so. Here are three easy ways to do screenshots and they won’t cost you a bit. Below is a quick description and then I added a tutorial that shows how they work.
The Old Fashioned Way
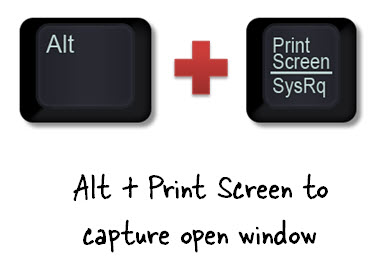
Years ago when you wanted a screenshot you pressed the PRINT SCREEN button. This took a snap shot of your screen and loaded it on the clipboard. Then you pasted the screenshot into something like MS Paint and made your edits. The print screen option still works today (unless you have it mapped to another application).
- Print Screen: captures your entire desktop and loads the image on the clipboard. Paste the image into a different application to make edits.
- ALT+Print Screen: captures your active window.
You can learn more about using Print Screen here.
Windows Snipping Tool
I’ve been using the Snipping Tool since the days of the tablet PCs. Starting with Microsoft Vista it’s available to all Windows users. It’s located in the Accessories folder. I have it pinned to my task bar for quick access.
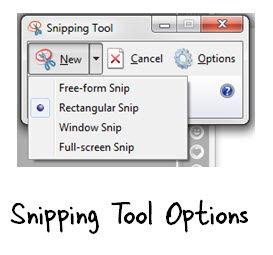
With the Snipping Tool you can capture freeform (like a scissor cut out), rectangle, window, or full screen. After snipping part of a screen you can highlight and annotate the image. When you’re done save it to your favorite image format.
Here’s more info on the Snipping Tool.
PowerPoint 2010
Starting with PowerPoint 2010, Microsoft included a feature that allows you to quickly grab a shot of any open window or do a screen clip of anything on your desktop. This is perfect for creating quick interactive software simulations. Grab a series of screenshots, place them on some slides, and then add hyperlinks to simulate the software like I did in this quick demo.
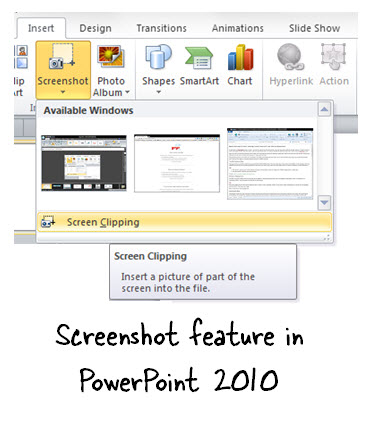
Another nice benefit of using PowerPoint is that you can annotate or embellish the screenshots and then save them as single images. Because of the freeform authoring in PowerPoint, creating custom graphics is super simple. By the way, Articulate Storyline also has a similar feature.
You can learn more about PowerPoint’s screenshot feature here.
Quick Tutorials on Creating Screenshots
Here are three tutorials I built in Storyline where I walk through all three screenshot applications. You can check them out below.
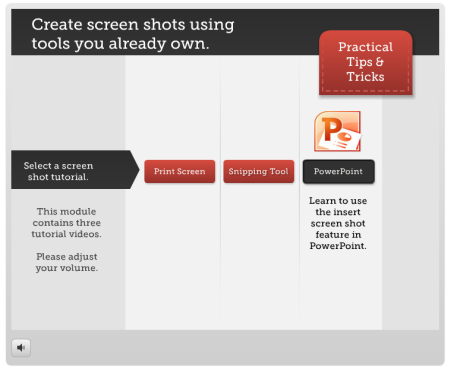
Click here to view the screenshot tutorials.
If you want more robust screenshot features, then you can find all sorts of free and for-pay applications.
However, if you need to do screenshots and don’t want to spend any money, then odds are that one of these solutions above will work for you.
Events
- Everyday. Check out the weekly training webinars to learn more about Rise, Storyline, and instructional design.
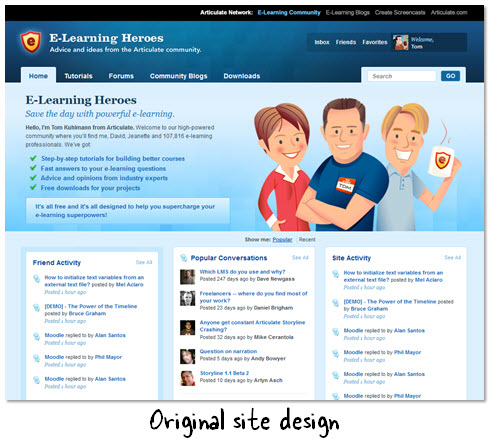
Free E-Learning Resources
 |
 |
 |
|
Want to learn more? Check out these articles and free resources in the community. |
Here’s a great job board for e-learning, instructional design, and training jobs |
Participate in the weekly e-learning challenges to sharpen your skills |
 |
 |
 |
|
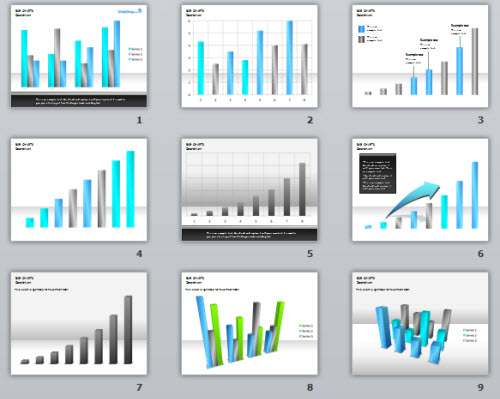
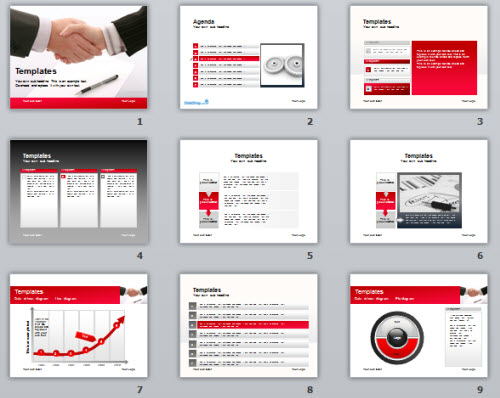
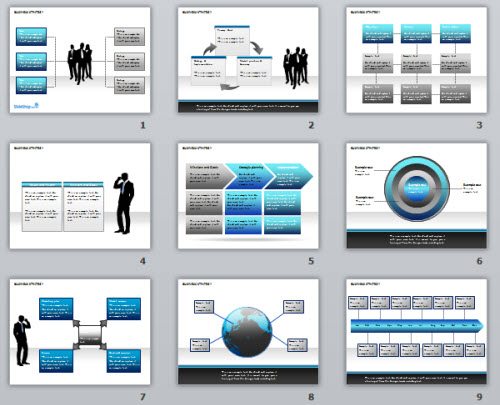
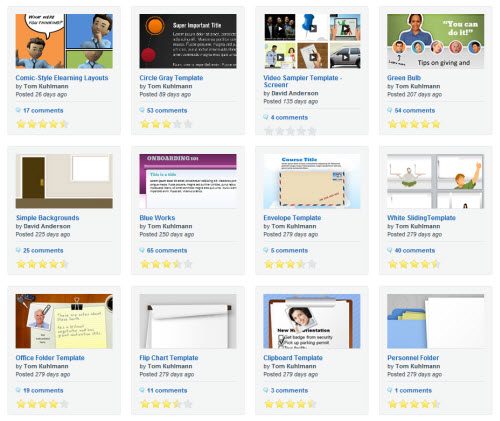
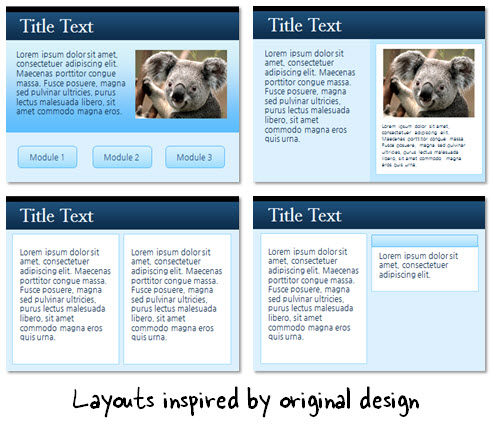
Get your free PowerPoint templates and free graphics & stock images. |
Lots of cool e-learning examples to check out and find inspiration. |
Getting Started? This e-learning 101 series and the free e-books will help. |


34
comments