How to Become a Successful E-Learning Developer
March 12th, 2019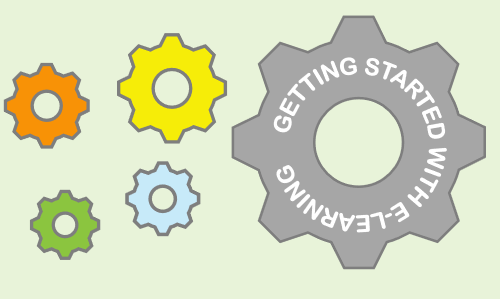
Between the blog posts, community interactions, workshops, and webinars one of the most frequently asked questions is how to get started with e-learning or become a better e-learning developer.
I’ve written about this in several previous posts that cover how to build your skills, create your personal brand, and maintain a portfolio. You can find previous posts and a really cool interaction below.
How to Build Your Skills
Here’s a list of some of the posts on personal development.
- How to Improve Your E-Learning Course Design Skills
- Do You Need to be a Programmer to Build E-Learning Courses?
- 5 Ways to Kickstart Your E-learning Career
- How to be Successful in the E-Learning Industry
- How to Hire an E-Learning Developer or Get an E-Learning Job
- The Role of Today’s Trainer
- Here’s How an E-Learning Portfolio Builds Your Skills
- Why You Need a Professional Portfolio
- Here’s What Needs to be in Your E-Learning Portfolio
- How to Create an E-Learning Portfolio
- 4 Ways to Build Your E-learning Skills This Summer
- 3 Ways to Save Your Training Job
Just Getting Started?
You know what’s better than reading a bunch of articles? Seeing it all in an e-learning module.
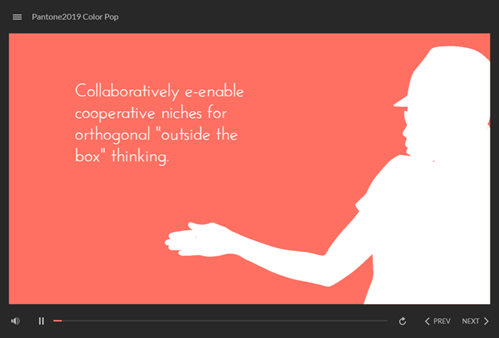
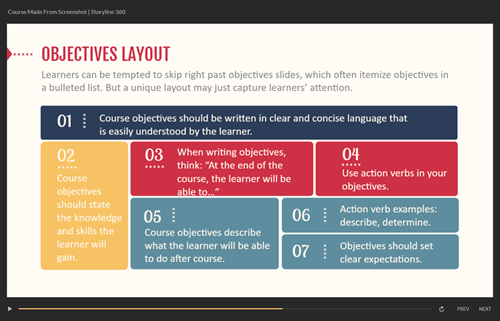
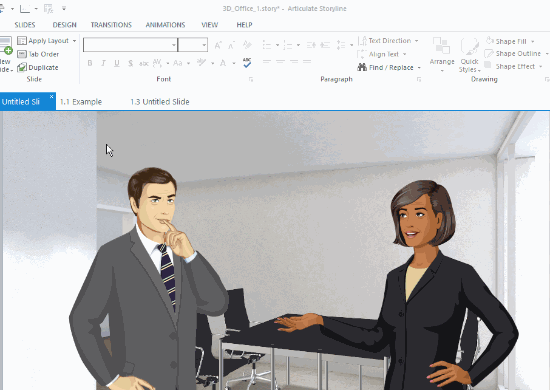
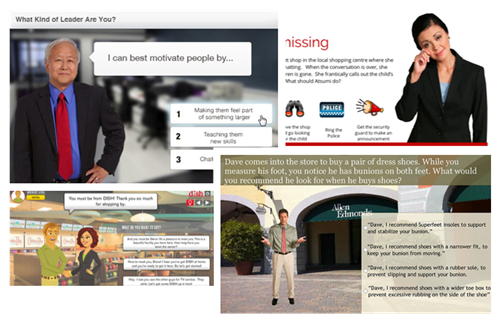
Sarah Hodge of SlideSugar recently shared a really great example of how to get started with e-learning. Not only is the content valuable, but it’s a demo worth deconstructing to glean ideas for your next e-learning course.
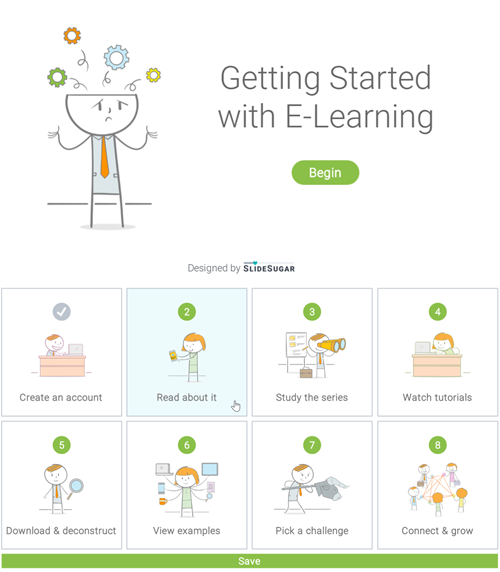
Be sure to check out the articles and Sarah’s e-learning example above.
What tips would you give to those who are just getting started or want to improve their e-learning design skills?
Events
- Everyday. Check out the weekly training webinars to learn more about Rise, Storyline, and instructional design.
Free E-Learning Resources
 |
 |
 |
|
Want to learn more? Check out these articles and free resources in the community. |
Here’s a great job board for e-learning, instructional design, and training jobs |
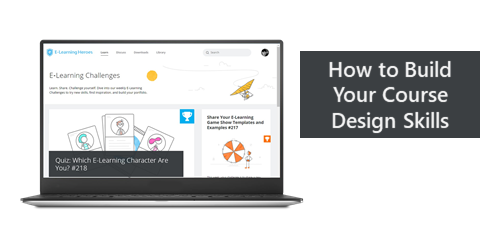
Participate in the weekly e-learning challenges to sharpen your skills |
 |
 |
 |
|
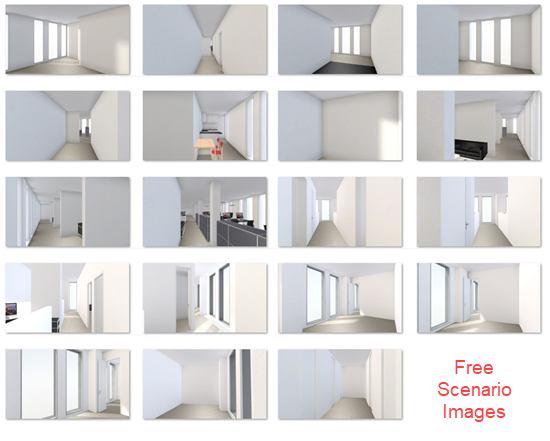
Get your free PowerPoint templates and free graphics & stock images. |
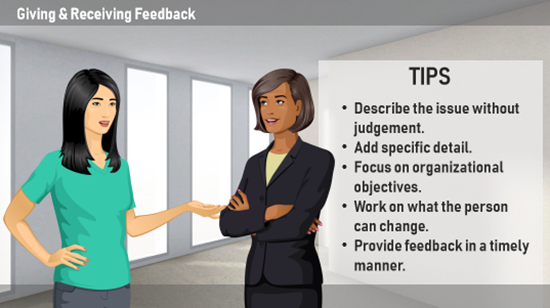
Lots of cool e-learning examples to check out and find inspiration. |
Getting Started? This e-learning 101 series and the free e-books will help. |


2
comments