How to Get the Most Value Out of E-Learning Templates
August 27th, 2019
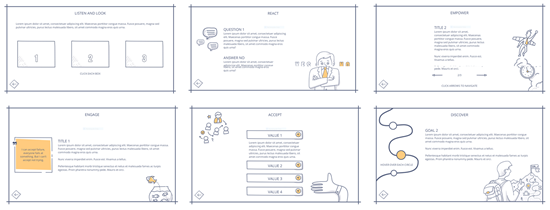
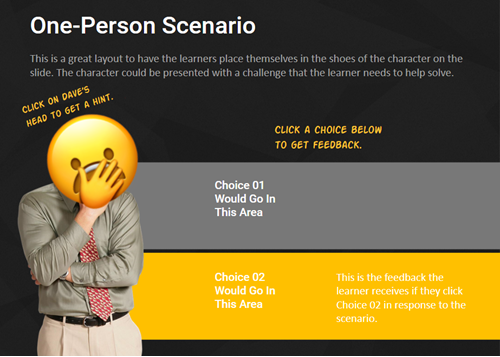
E-learning templates are great. They speed up production and deliver a professional and polished look. And there are lots of e-learning templates from which to choose. Articulate 360 offers slides and interaction templates for both Storyline 360 and Studio 360 in PowerPoint.
With all that said, there are some challenges with templates and issues I run into when delivering the e-learning workshops.
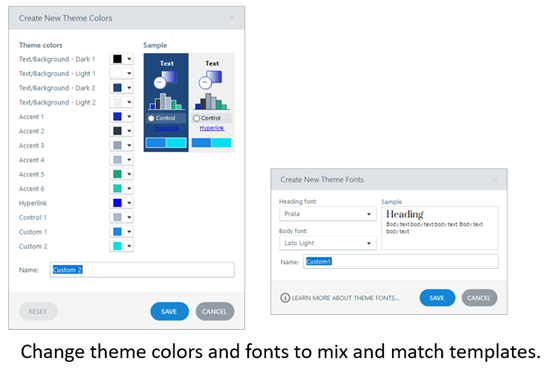
- Mix & match templates. The course author wants to mix and match templates. Generally, this is easy enough to do. For the most part it’s a matter of changing theme colors and theme fonts. But this assumes that the person who created the template used the accent colors the same way. Also, if the colors aren’t mapped to the color themes, then they can’t be changed through the themes and need to be changed at the slide level.
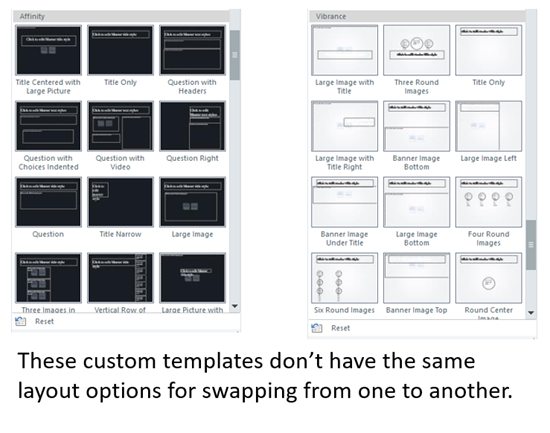
- Inconsistent slide layouts. In the same sense, it can be a bit tricky when trying to apply the layouts from one template to another if they aren’t mapped to the same type of content and layouts.
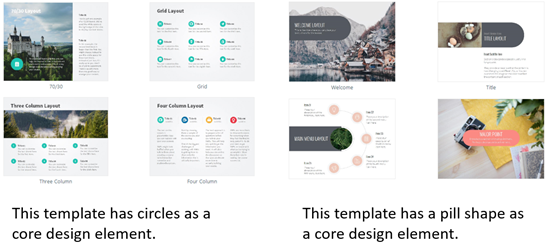
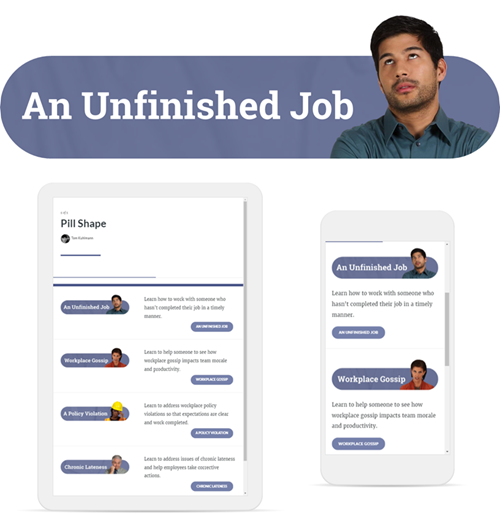
- Different design elements. Templates often have visual design elements (and layouts) that make the template design unique. Thus trying to modify one to another style may create some additional work to get a similar look and that often defeats the time savings and efficient production that the template should produce.
A template is designed to provide something specific and not require a lot of customization. They’re great when it’s mostly a matter of adding new content without a lot of editing.
Customization (such as what’s noted above) breaks the concept of the template. As soon as the author needs to customize the template, it often involves deconstructing and reconstructing the layouts and some functionality. This usually requires as much time (sometimes more) as building the screens from scratch. And at that point, the value of the template is lost.
Thus, the big question: how to get the most value out of the template?
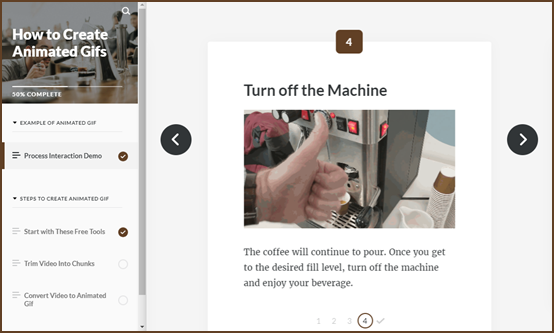
It starts with understanding your content and how it needs to be displayed. Once you know that, you can determine how to add your content to the course and how you want it displayed.
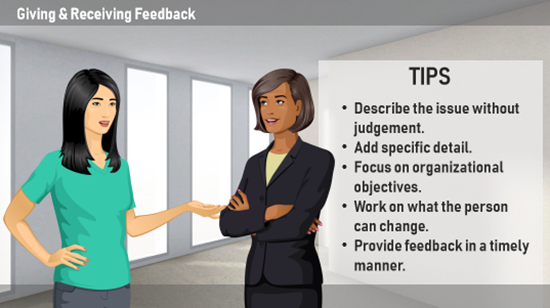
Screens are going to be made of text and media (buttons, pictures, shapes, and video). They can be laid out any number of ways: up, down, left, and right.
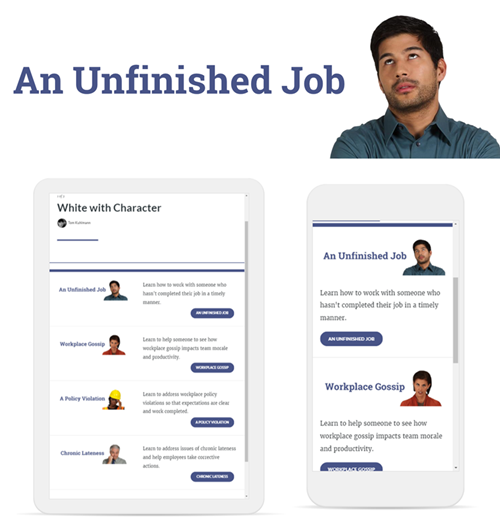
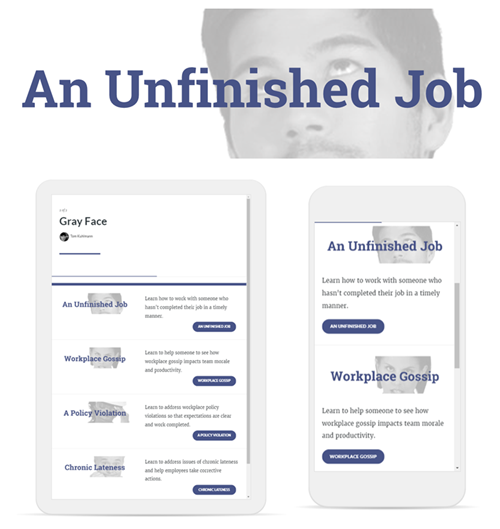
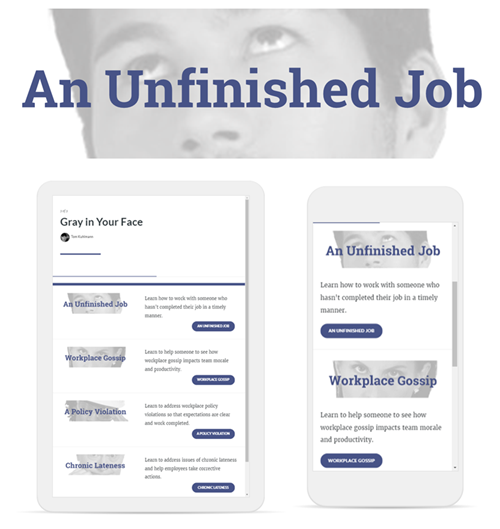
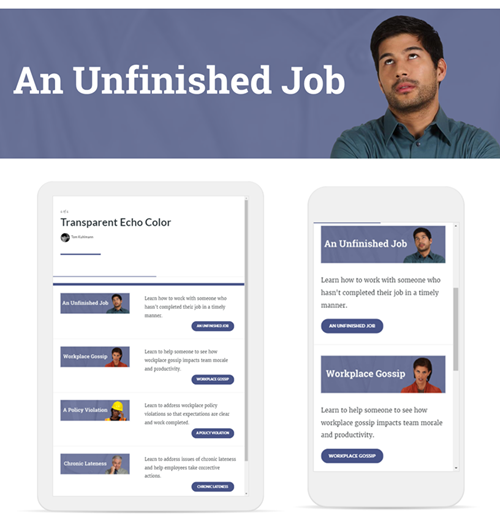
- Select a single template style. You can always change the colors and fonts to match your brand and course requirements. But you want a single template.
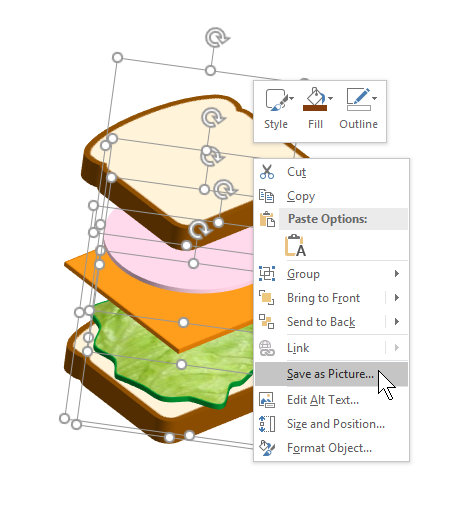
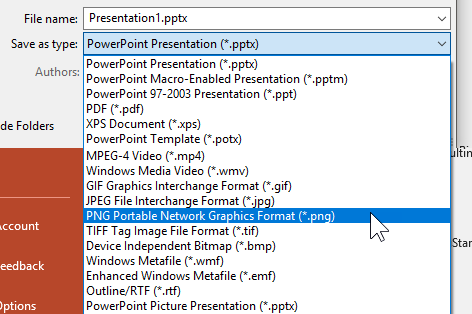
- Download all of the slides for that template. I usually add them to a side scene and then copy and paste what I want to use. I delete the unused scene right before I publish the course.
- Modify the theme fonts and colors if needed. Then apply those to your template.
- If you need a new slide (and want to build it from scratch), use the layouts that are part of the template and not outside of it. This keeps it using the same theme colors and fonts.
If you understand your content and stick with a single template, you’ll find working with the templates to be easy. If you try to mix and match templates, you may find it’s more work than creating content from scratch.
Events
- Everyday. Check out the weekly training webinars to learn more about Rise, Storyline, and instructional design.
Free E-Learning Resources
 |
 |
 |
|
Want to learn more? Check out these articles and free resources in the community. |
Here’s a great job board for e-learning, instructional design, and training jobs |
Participate in the weekly e-learning challenges to sharpen your skills |
 |
 |
 |
|
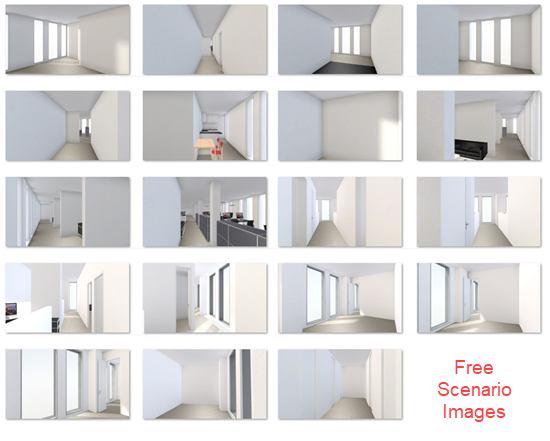
Get your free PowerPoint templates and free graphics & stock images. |
Lots of cool e-learning examples to check out and find inspiration. |
Getting Started? This e-learning 101 series and the free e-books will help. |


1
comment