Three Good E-Learning Books to Finish Off the Summer
August 22nd, 2017
The end of summer usually serves as the beginning of the school year. In a sense, it also kind of serves as the beginning of the work year. It’s always good to come into a new year with a fresh perspective. Reading is one way to do that.
I’m always asked about good e-learning books from those just getting started who want to learn more. Here are some new books I haven’t referenced in the past. I think they’re worth considering for your e-learning library. The links to Amazon books may produce a slight commission.
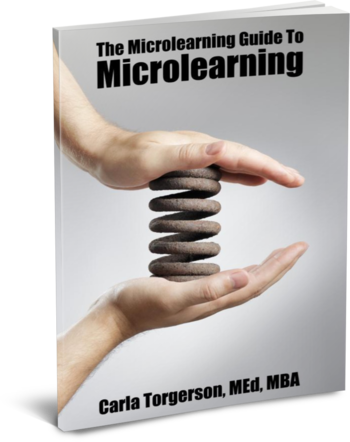
Microlearning Guide to Microlearning
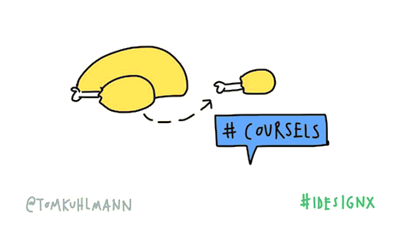
Microlearning is all the rage. Although I think short courses have always existed, it’s just today they have a trendy name. I like to call them coursels (as in course morsels). But that hasn’t taken off despite my efforts over the past twenty years. I guess my legacy will rest on something else.
If you want to learn about microlearning then check out Carla Torgerson’s Microlearning Guide to Microlearning.
Here are a few things that stand out:
- The book presents each point as distinct micro ideas. There are 141 in the book. It may seem a bit gimmicky and some of the ideas are obvious, but for the most, part it works and the points are really good. Besides, the essence of microlearning is to distill ideas into smaller, single topic points. There’s nothing earth-shattering in the book, but it’s a fast read and has most of the core points you’d find in other books and articles on microlearning. Having them in a single resource is nice.
- I still like to read paper books and end up having to write a lot of notes and my thoughts on the back cover because there’s no room in the margins. Because she presents single micro ideas in the book, there’s lots of room to reflect and take notes.
- She offers the MILE model as a means to help guide the content development. Here’s the essence of the model: objectives, structure, resources, promote, and evaluate. There’s a lot more to it, but it’s a good model.
Overall, a good book and easy to get through.
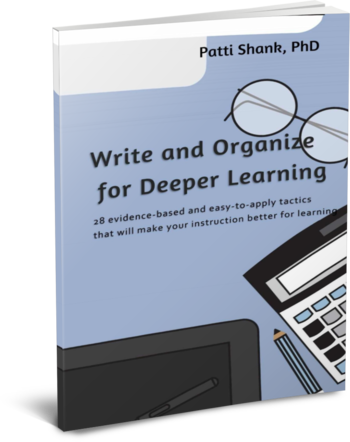
Write and Organize for Deeper Learning
Many of you are probably familiar with Patti Shank. She’s a frequent speaker at industry conferences and has written a number of good books. And now she has a new one, Write and Organize for Deeper Learning. This is book one of the “Make It Learnable” series.
Here are a few key highlights:
- The book focuses on four key strategies built around the audience’s needs and ability to learn based on how the content is structured and presented.
- She offers lots of ideas and tactics to help make the book’s content learnable and something you can apply.
- I’m a simple person. I have plenty of big, thick books on instructional design and learning, but I like to fall back on thin, easy-to-digest books. This is a good one for beginners who are dipping their toes in the water and not sure where to start. It covers a lot of foundational content. And for those of us who are a bit more tenured it’s a fast read with lots of reminders.
Like Julie Dirksen’s Design for How People Learn, this is one of those books I’d recommend to someone just getting started.
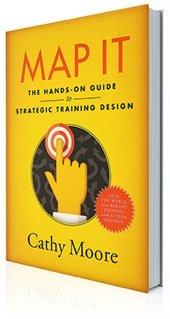
Map It: The Hands-On Guide to Strategic Training Design
Cathy Moore’s done a great job taking course design concepts and making them easy-to-understand, especially for those just getting started. I always recommend her action mapping ideas to subject matter experts at the workshops and conferences I attend.
Now she has a book, Map It: The Hands-on Guide to Strategic Training Design, to go with everything else she shares.
Other Good E-Learning Books
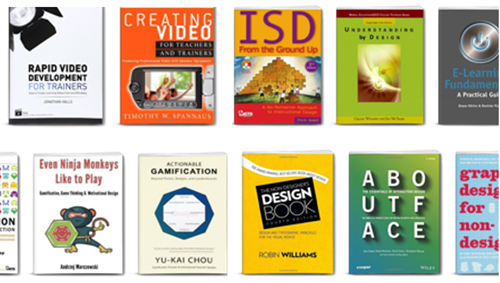
Here’s a list of books I’ve recommended in the past and some from the community.
- Here Are 12 E-Learning Books to Read This Year
- Build Your Skills with These Online Training Books
- Are These the Three E-Learning Books You Would Recommend?
- Community curated list of e-learning books.
Do you have any good e-learning book recommendations?
Events
- Everyday. Check out the weekly training webinars to learn more about Rise, Storyline, and instructional design.
Free E-Learning Resources
 |
 |
 |
|
Want to learn more? Check out these articles and free resources in the community. |
Here’s a great job board for e-learning, instructional design, and training jobs |
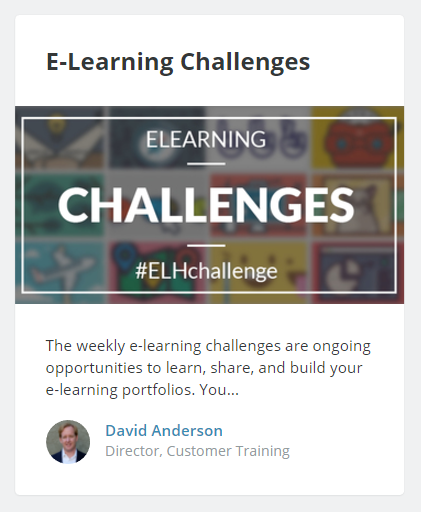
Participate in the weekly e-learning challenges to sharpen your skills |
 |
 |
 |
|
Get your free PowerPoint templates and free graphics & stock images. |
Lots of cool e-learning examples to check out and find inspiration. |
Getting Started? This e-learning 101 series and the free e-books will help. |


2
comments