Microsoft Brings Back Free Clip Art…Sort Of
May 10th, 2016
Having free clip art is a big deal for those of us on fixed budgets and with limited access to stock images and clip art to use in our elearning courses, presentations, and training programs. So last week’s news that Microsoft is bringing back free clip art was a breath of fresh, kind of.
About two years ago, Microsoft got rid of clip art. Because of this many of you have been using the free stock images sites, the free images in the community, and downloading the free vector images which you can edit in PowerPoint. This works fine, but it sure is handy having quicker access to the right images while you’re building the slide.
Free Clip Art via Pickit
The good news is Microsoft has formed a partnership with Pickit which offers a pretty big library of images. However, while Pickit offers some free images that you can access via PowerPoint, it doesn’t really work the same way it used to with the old clip art gallery.

Below, I’ll show how to install it and then a few tips on using it for your courses. To get started, I recommend creating an account with Pickit.
How to Install Pickit for Free Clip Art
This part was a little tricky because the instructions aren’t quite that clear.
- You’ll need to download the Pickit add-in from the Office store.
- Click the green “add” button. This should install Pickit. However, this is where I found the instructions to be a bit confusing.
Here are the instructions that Microsoft provides:
- Make sure you’re signed in to Office. Open any Office application and, in the top right corner, click Sign in. Type the email address and password you use with Office.
- If you’re using Word, Excel or PowerPoint, press Insert > My Add-ins. In the Add-ins for Office box, find your add-in.
- If you don’t see it, verify that you’re signed into Office. Press Refresh to update the list.
- If the add-in still doesn’t show up in the add-ins for Office list, it might have been hidden. You can use the My Add-ins for Office and SharePoint page to retrieve it.
- Double-click the add-in to start it.
Those instructions didn’t work for me. First off, my version of PowerPoint 2013 doesn’t have an Insert>My Add-ins option. Instead it’s Insert>My Apps. However, I don’t see the Pickit app in the list.
Here’s how to install the Pickit app if you have the same issue as I do.
- Make sure you’re signed into your Office account because the app is part of your account.
- Go to Insert>My Apps and click on the See All link. That will show all of your apps.
- Select the Pickit app and click on Insert. This will install the app.
Here’s a video that shows how to install Pickit in PowerPoint.
How to Use Pickit for Free Clip Art & Stock Images
I’m using PowerPoint 2013 so I’m not sure if the app works different for newer versions. Here are a few key features and considerations when using Pickit:
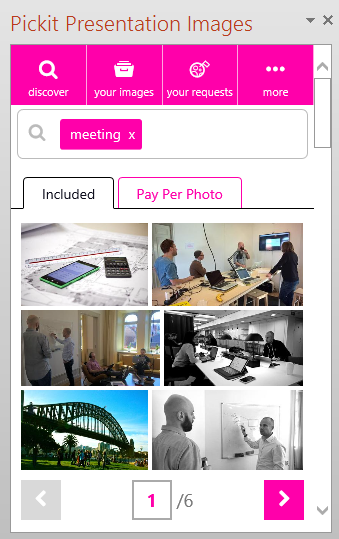
- The app opens a side panel where you can search for images. In the image above, I searched for “meeting.” The search produced three options: 1) free images, 2) pay per photo, and 3) request an image. Pay images are provided by Shutterstock at about $5/image. I’m not sure how it works if you already have a Shutterstock account, though.
- You can upload images and manage them (and purchased images) via the “your images” tab.
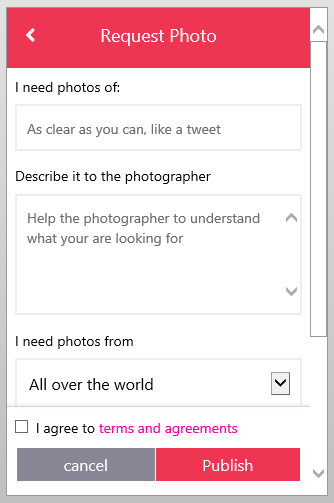
- The “request a photo” feature is pretty cool and allows you to ask someone to create or share an image you require.
- Based on their tutorial video, Pickit is supposed to add an icon to your toolbar. This didn’t happen for me. You’re also supposed to be able to select a word on the slide, right click, and search for an image. However, that wasn’t working for me, either. I’m not sure why, but I was too lazy to research it. If someone figures it out, add a note in the comments.
My impressions:
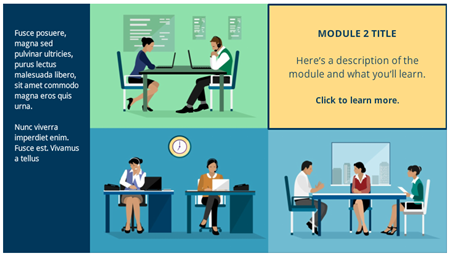
- It’s free and the available images are viable (although, it’s not really like the clip art Microsoft offered before).
- It does help people not bootleg images from Google that may cause copyright issues something that Bing kind of made a bit fuzzy when they dropped the free clip art.
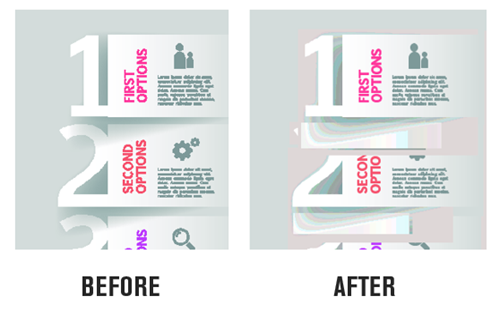
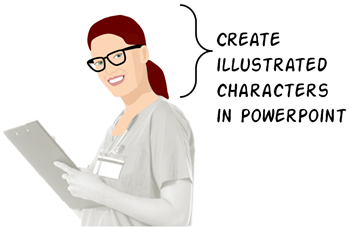
- You can’t sort illustrated from photographic images. Also, the illustrations come in as .JPG which means they can’t be ungrouped like the earlier clip art. To edit them in PowerPoint you are limited but can use the tips offered in this tutorial post.
- It would be nice if the image details were tied to specific keywords for better searching.
- I love the idea of people uploading and sharing their free images.
- I’m not a fan of the pink branding. I’d prefer more contrast and a less bright color. But it’s free, so I’ll live with it.
- You can always find inexpensive stock photo subscriptions. In fact Graphic Stock (which has a good selection) regularly runs a $99/year subscription with unlimited downloads.
Are you using Pickit for free clip art? Share your thoughts in the comments section.
Events
- Everyday. Check out the weekly training webinars to learn more about Rise, Storyline, and instructional design.
Free E-Learning Resources
 |
 |
 |
|
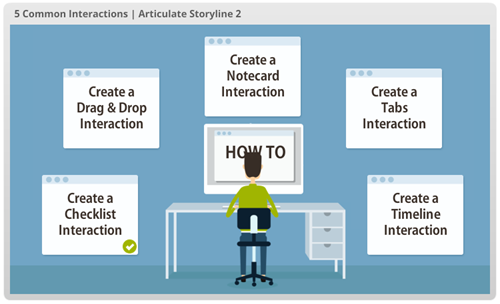
Want to learn more? Check out these articles and free resources in the community. |
Here’s a great job board for e-learning, instructional design, and training jobs |
Participate in the weekly e-learning challenges to sharpen your skills |
 |
 |
 |
|
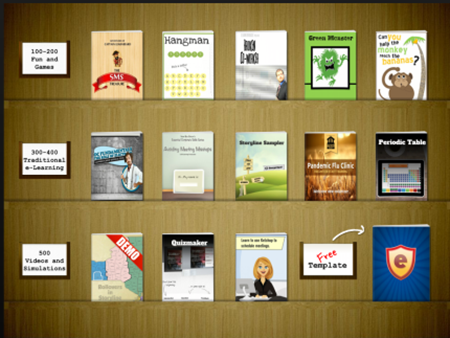
Get your free PowerPoint templates and free graphics & stock images. |
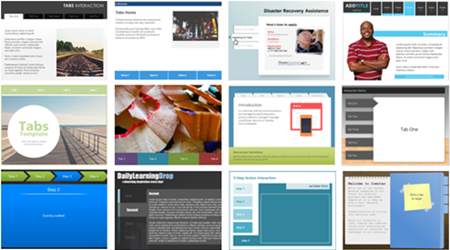
Lots of cool e-learning examples to check out and find inspiration. |
Getting Started? This e-learning 101 series and the free e-books will help. |


11
comments