3 PowerPoint Shortcuts I Always Have at My Finger Tips
January 22nd, 2013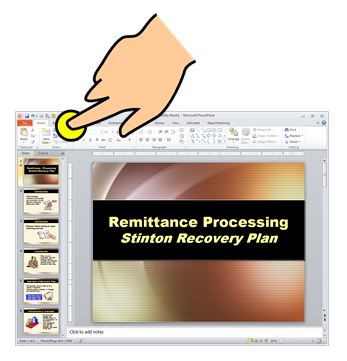
At my PowerPoint workshops I like to show some of my favorite rapid elearning tips. During the demos I tend to use all sorts of shortcuts. And frequently the questions are less about the demo I show and more about my PowerPoint shortcuts.
In today’s post, I’ll show you three PowerPoint features I use a lot and how to get quick access to them.
The Quick Access Toolbar
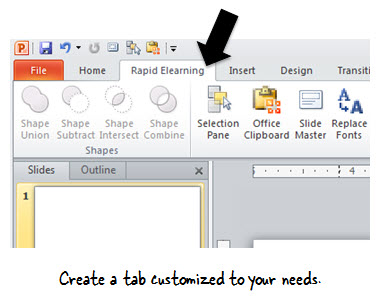
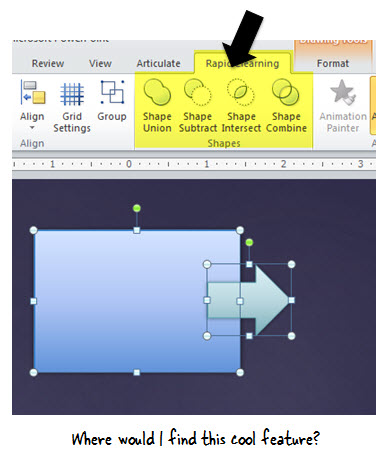
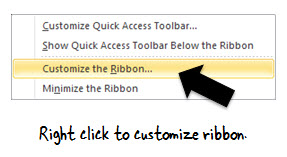
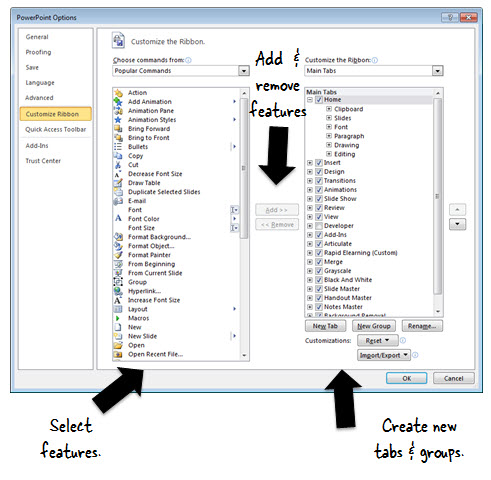
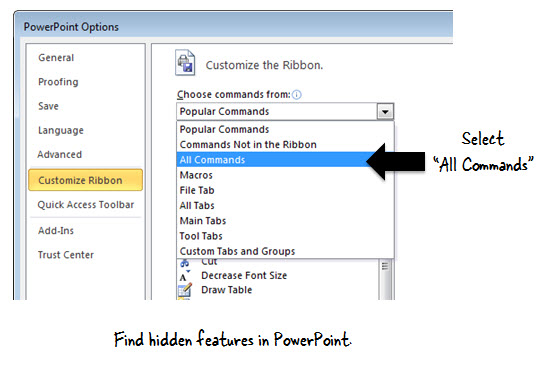
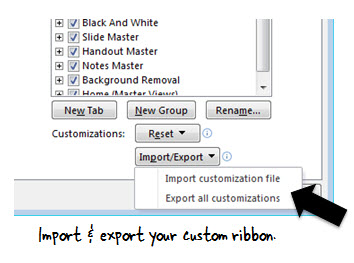
In a recent post, I shared how easy it is to create custom tabs in PowerPoint 2010. This lets you keep all of your favorite features in a single tab. I find it handy to have a “rapid elearning tab” for quick access to frequently used features. But if you don’t have PowerPoint 2010, you can still take advantage of the shortcuts using the Quick Access Toolbar.
Click here to view the PowerPoint tutorial.
- Click the dropdown arrow on the Quick Access Toolbar and select More Commands.
- This opens a list of features you can add to the toolbar. Select your features and add them to the right column panel. Hit OK and you’ll be all set.
Quick Access to the Selection Pane
The one PowerPoint feature I use the most is the Selection Pane. It displays the slide’s objects and how they’re layered on the PowerPoint slide.
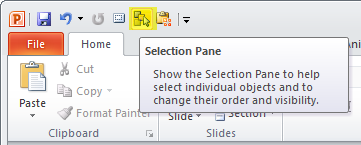
The Selection Pane lets you change the object layering by moving them up and down. You can also show and hide objects. This comes in handy when you want to isolate an object while editing the slide contents. Hide the rest and you can work on what you want without worrying about the other objects being nudged or accidentally moved.
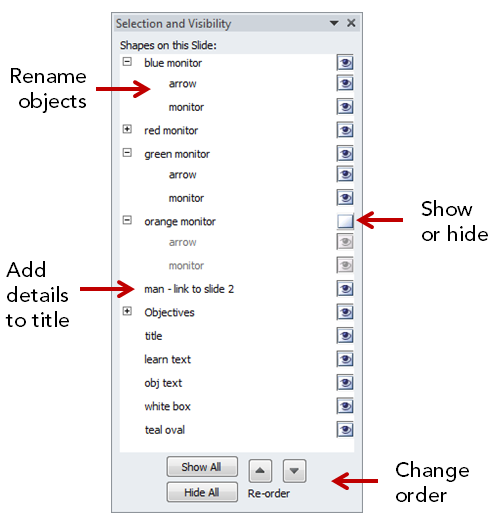
I also recommend adding custom titles. This is especially handy if you have a hyperlink on the object. Without the renamed title there’s no quick way to know if the object contains a hyperlink or not.
Here’s blog post where I show how I use the selection pane when building an interactive template. It explains a bit more about naming the linked objects.
Quick Access to the Slide Master
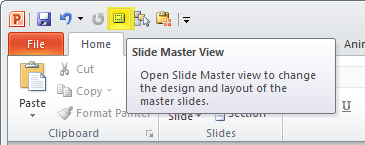
If you build rapid elearning courses then you know that you’ll be using the master slides quite a bit. There’s a good review of how the slide master works with interactive content in this post.
Quick Access to the Clipboard
I use the two features above quite a bit. This last one I don’t use as much; but when I do, I don’t want to waste time trying to figure out how to find it.
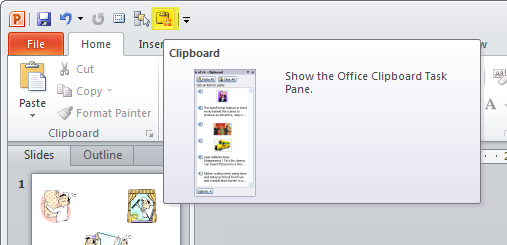
The clipboard holds up to 24 copied objects. That means you can load it with all sorts of assets and then instead of pasting just the most recent, select from a list of 24.
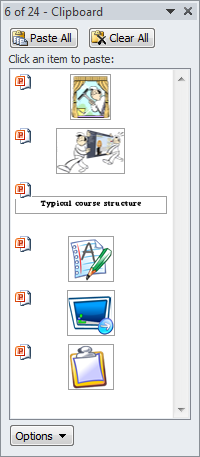
This feature comes in handy when cleaning up the client’s PowerPoint slides. Create the style palette, copy the shapes, and just paste what you need from the list of 24 on the clipboard.
There are a lot more features you can load on the Quick Access toolbar. Personally, I try to limit them to the ones I use quite a bit or the ones I use infrequently. I also try to limit how many I have to avoid clutter.
Which features do you have at your fingertips? Let me know.
Events
- Everyday. Check out the weekly training webinars to learn more about Rise, Storyline, and instructional design.
Free E-Learning Resources
 |
 |
 |
|
Want to learn more? Check out these articles and free resources in the community. |
Here’s a great job board for e-learning, instructional design, and training jobs |
Participate in the weekly e-learning challenges to sharpen your skills |
 |
 |
 |
|
Get your free PowerPoint templates and free graphics & stock images. |
Lots of cool e-learning examples to check out and find inspiration. |
Getting Started? This e-learning 101 series and the free e-books will help. |


























13
comments