The Evolution of an Interactive Scenario
May 14th, 2019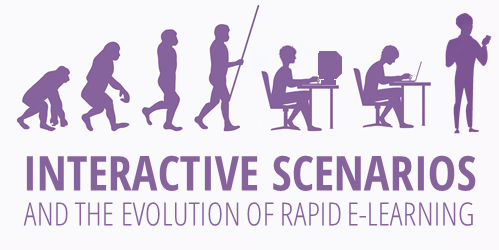
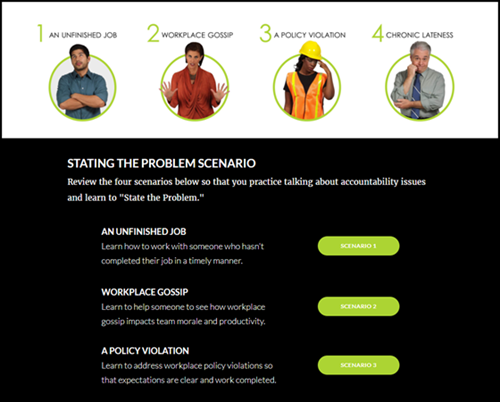
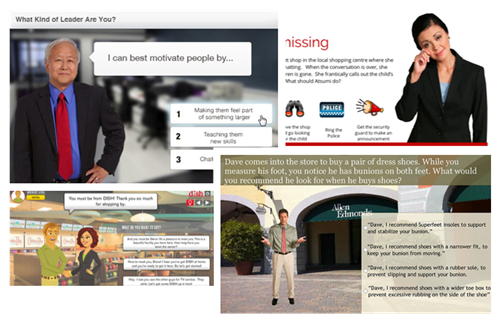
Here’s some content that spans the past decade or so of rapid e-learning. Originally, the interactive scenario started as a PowerPoint file that was published with Articulate Studio to demonstrate how to create simple branched scenarios in PowerPoint.
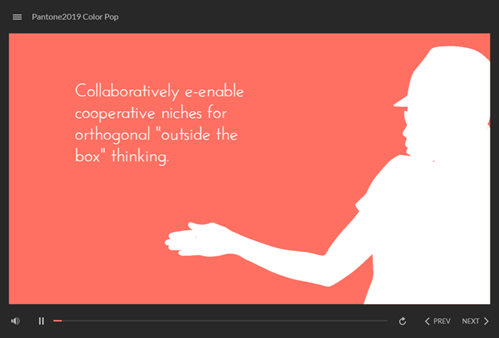
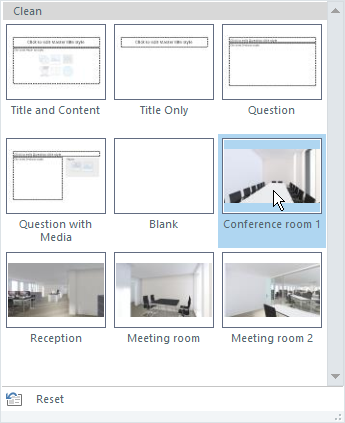
Interactive Scenario: PowerPoint
Click to view the interactive scenario create with PowerPoint
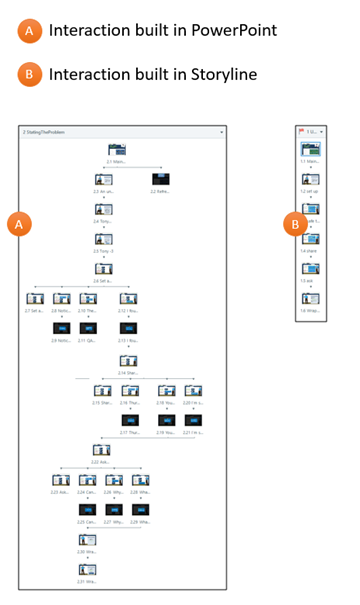
Since PowerPoint is linear and doesn’t offer tracking logic, it requires a lot of slides to create the illusion of movement and branching complexity. The slide number increases exponentially with each additional choice and gets to a point where it’s not manageable.
In those cases, PowerPoint isn’t the best solution for interactive courses.
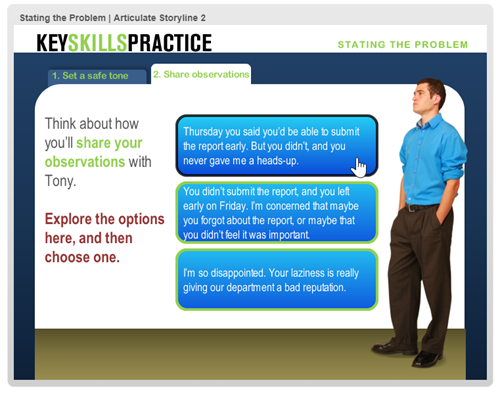
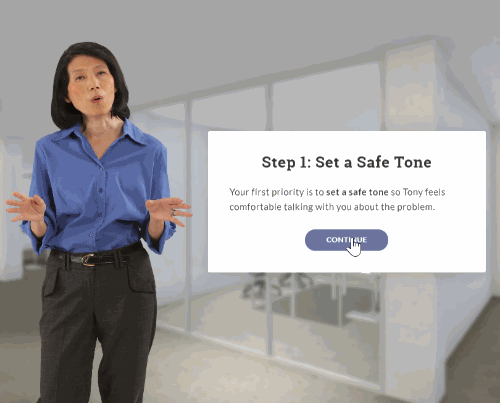
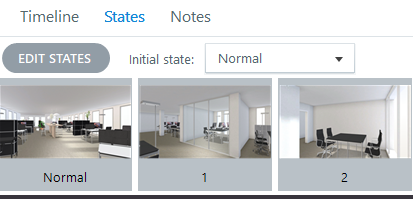
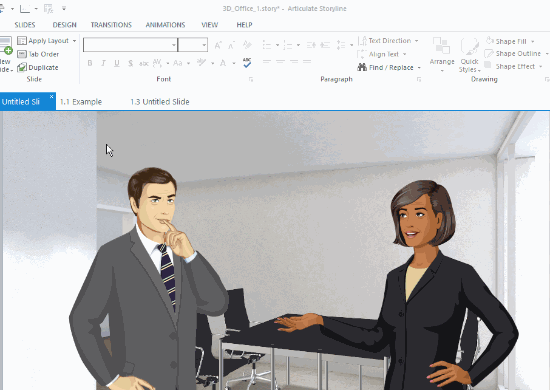
Interactive Scenario: Storyline
The same content goes from 154 slides in PowerPoint to just 18 slides in Storyline. That’s a dramatic decrease in slides and the production time required to create an interactive scenario. It really shows off the power of Storyline and why it’s so well received as a preferred authoring tool.
Interactive Scenario: Rise 360 Content Blocks
When we launched the Rise 360, I wrote about the new approach to rapid e-learning. Rise 360 is form-based so the authoring process is different than PowerPoint or Storyline.
I played around with how to convert the PowerPoint scenario into Rise 360, a completely different type of tool. Here’s the first attempt using content blocks.
Click here to view the interactive scenario using content blocks in Rise 360.
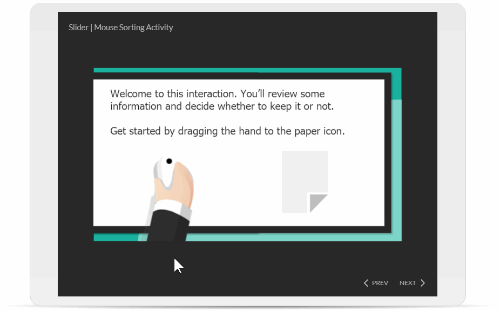
Interactive Scenario: Rise 360 Scenario Block
The content block scenario works, but with the scenario block in Rise, I am able to create something that is visually more in line with what I want and it’s a lot easier to build. Here’s an example of the same content in the Rise 360 scenario block.
Click here to view the interactive scenario using the scenario block in Rise 360.
Interactive Scenario Resources
- In a previous post, I showed how I created the menu design for the interactive scenario using PowerPoint.
- Here’s a tutorial to learn more about the scenario block where I used some of this scenario for the demo.
- I am doing a free webinar on May 21, if you want to learn more about the scenario block. If you can’t make it, register and you’ll get a link to the recording to watch at your leisure.
It really is interesting to see the evolution of rapid e-learning through this scenario content. It started with PowerPoint, passed through Storyline, and now it’s part of Rise 360.
Events
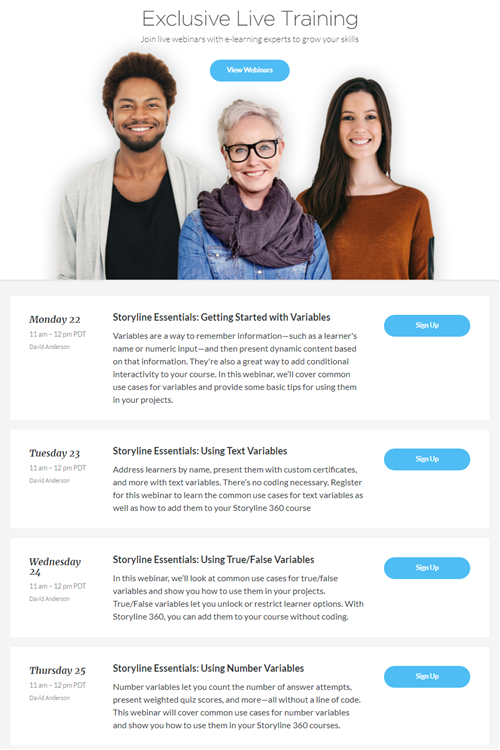
- Everyday. Check out the weekly training webinars to learn more about Rise, Storyline, and instructional design.
Free E-Learning Resources
 |
 |
 |
|
Want to learn more? Check out these articles and free resources in the community. |
Here’s a great job board for e-learning, instructional design, and training jobs |
Participate in the weekly e-learning challenges to sharpen your skills |
 |
 |
 |
|
Get your free PowerPoint templates and free graphics & stock images. |
Lots of cool e-learning examples to check out and find inspiration. |
Getting Started? This e-learning 101 series and the free e-books will help. |


1
comment